How Do I Update My UNIQ® Automatic Control System Software?
Step-by-step instructions to update the UNIQ PLC and touchscreen using the provided SD card and USB drive.
//3 min read
The NTM UNIQ® Automatic Control System software has undergone a complete re-design and update based on your feedback. The latest software update will ensure user-friendliness, reliability, and safety remain top of mind when using your UNIQ controller.
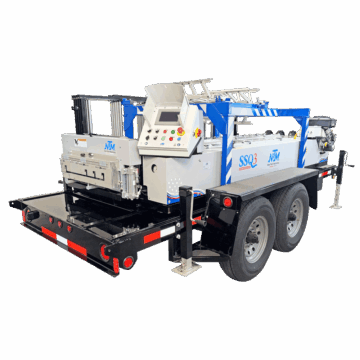
This latest release can be downloaded and easily updated on your machine controller via the SD card and USB thumb drive provided. All machines are currently being shipped with the SD card and thumb drives. Check your UNIQ Control System for these items before contacting the Service Department.
When you download the software update from the zip file, extract the contents inside the folders labeled “Files for SD Card” and “Files for USB Drive”. Download the zip file, save it in your downloads folder, right-click and select “Extract all”, then copy the contents to the SD card and thumb drive you will need to complete the update.
Part 1 — Update the PLC
Turn off the machine by rotating the power disconnect on the right side of the control panel.
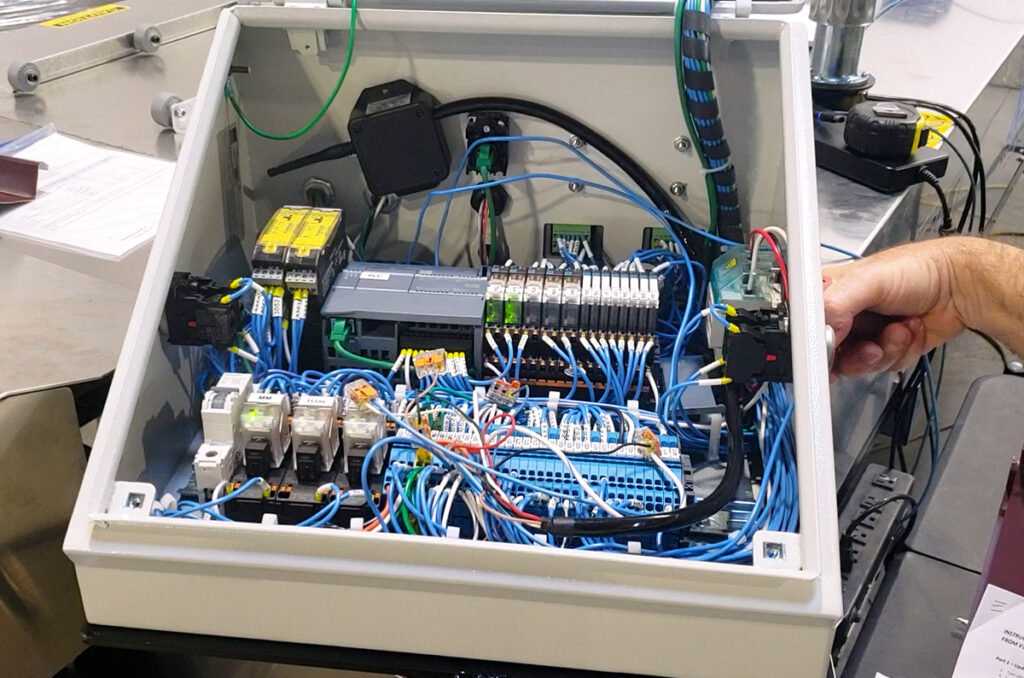
Loosen the two screws at the bottom corners of the control panel and open the door.
Insert the SD card provided into the card slot of the PLC (programmable logic controller).
Turn the machine on by rotating the power disconnect.
After about 30 seconds, the RUN / STOP light should be steady yellow and the MAINT light should be flashing.
Turn the machine off by rotating the power disconnect.
Remove the SD card.
Turn the machine back on by rotating the power disconnect.
The lights will flash again. When the RUN / STOP light is steady green the programming is complete.
Close the control panel door and replace the screws.
Part 2 — Update the Touchscreen
Insert the USB drive into the USB port on the front of the control panel.
Move the AUTO/MAN switch to AUTO if it is not already in that position.
Press the Home button, then Settings, then Exit HMI.
Press Settings.
Double-tap Service & Commissioning.
Press the Load Project tab.
Press the Next button.
Press Storage Card USB to highlight it, then press Next.
Press on the file listed to highlight it, then press Next.
Check the two boxes shown and press Load. (A pencil eraser works well for pressing the small checkboxes. It will still be possible to go back to Version 1 even after the upgrade.)
Press Yes on the next window.
Press the Load button.
Once it has finished loading, the touchscreen will restart. Verify the version numbers at the bottom of the screen are correct.
If the USB drive and SD card were from New Tech Machinery, mail them back in the stamped, addressed envelope provided. If you used the ones inside the control panel, put them back for later use.