Flagship
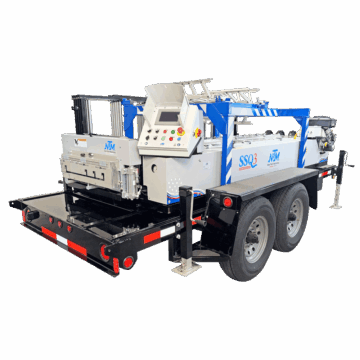
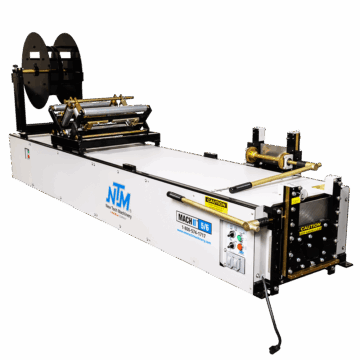
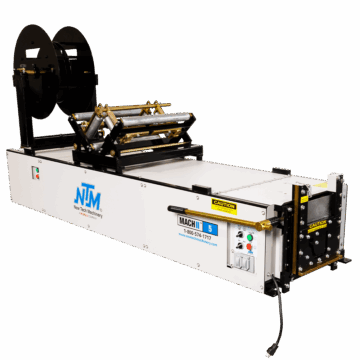
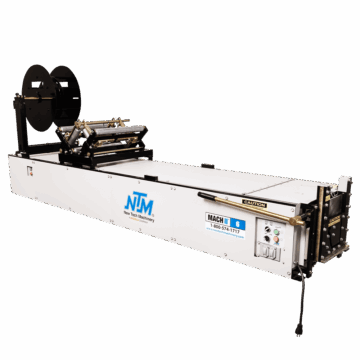
Roof & Wall Panel Machines
New Tech Machinery’s panel notching is a valuable accessory, saving operational time and labor, and increasing revenue. When your notching lengths come out uneven, this can eat into your operational time out on the job site. It’s essential to know how to make adjustments to your notching system, specifically the notching tab lengths.
Nate Roston, outside service manager, walks you through step-by-step on to make these adjustments.
Follow along with this article: https://newtechmachinery.com/learning-center/adjusting-tab-lengths-on-an-ntm-ssq-ii-multipro-with-notching/
Learn even more about the notching system here: https://newtechmachinery.com/learning-center/video/set-up-notching-ssq-roof-panel-machine-video/
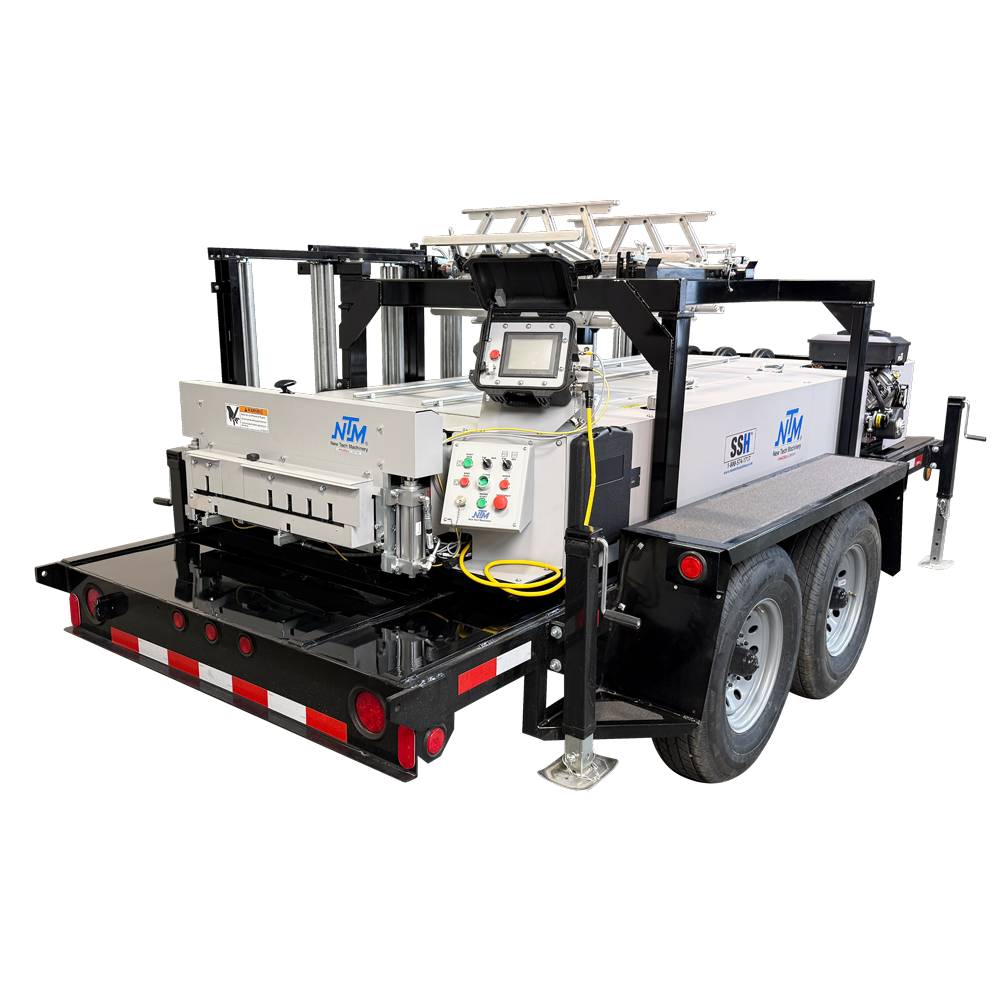
Hi, Nate Roston here with New Tech Machinery. And in today’s video, we’re going to go over how to adjust the tab lengths when you have an SSQ II with notching capabilities.
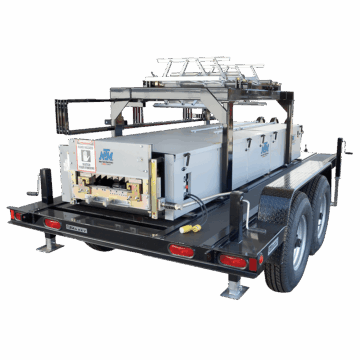
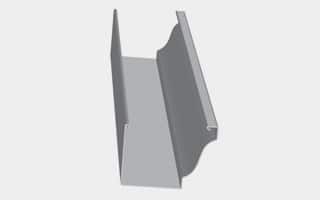
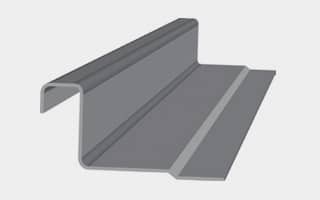
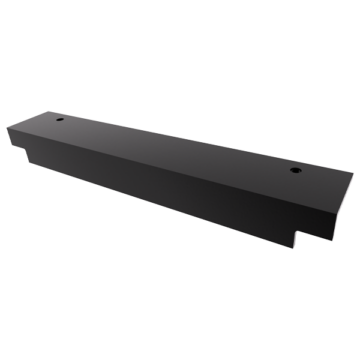
You’ll know that if your SSQ II has notching capabilities, you’ll have the notching cartridge incorporated into the entry guide and you’ll see here this has the left cartridge on the left side and of course the right cartridge on the right side.
And if you want to know more detail about the notching program, check out our video that shows exactly how the the notching system works.
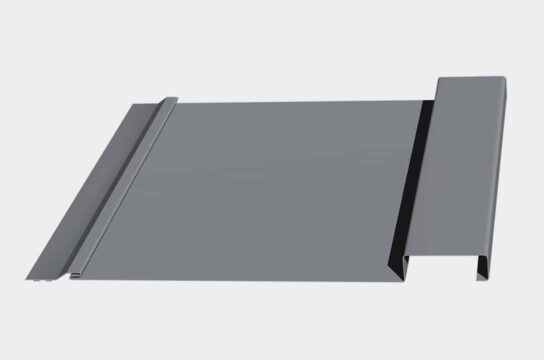
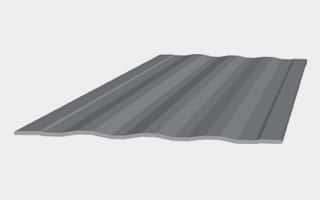
When running a panel machine that has notching capabilities, sometimes you’ll have an issue where the tab lengths have come uneven. You’ll notice that in this particular panel, we’ve got one and a half inch on one side. And then a half inch on the other side. We’ll show you how to adjust that here today.
As always, when operating your panel machine, we want to make sure that we have all the safety covers in place, especially the sheer cover.
To fix the problem with the uneven tab length. One of the things we have to do is go in to the calibration screen, and within that screen, you’ll see the machine length calibration, which will help us fix the problem.
Start the machine up, and when you go to calibration, there’s a start up bar. The machine has to be running. You also have to make sure you read this information before you go into any calibration part of the machine.
So we’ll hit calibrate here and then you’ll see the machine length calibration.
Once you complete the machine sequence, you’ll have a long machine length part, and then you have a short machine length part. And basically, we’re just going to measure the trailing into the long part, which is one and 5/16′. And then the leading end of the short part, which is the 11/16′.
One thing that’s important to know is that this is the beginning to try to get your tab length correct, but you can also do this on the fly.
In other words, you’re running panels out, and you want to run a few pieces, of course, so that you get an even batch.
But if they’re just off a little bit, you can go back into this sequence, type it in, and it’ll just correct that little incremental changes that you need to keep the panels running correctly.
So we’ll hit calibrate here and then you’ll see the machine length calibration.
First thing I want to do is if you remember when we measured out the long part, that length was long. It was one inch and 5/16′. And so that left us 11/16′ for the other end. So the short, short panel. All right. And if we look at that, you could see the long part was one and 5/16′, and the short part was 11/16′.
And then we’ll hit calibrate machine length, will acknowledge, and it’ll change your machine length to the proper length.
Once you’ve completed the machine sequence and you start to run new panels out, you go ahead and take a measurement, and as you can see, we’ve got a one-inch tab on the leading end and a one-inch tab on the trailing end on the male side. And you also have a one-inch tab on the trailing in and a one-inch tab on the leading in on the female side.
If you have any other questions, please don’t hesitate to contact our service department.
Thank you for watching and we’ll see you in the next video.

Machine tutorials, maintenance tips, industry insights.