Flagship
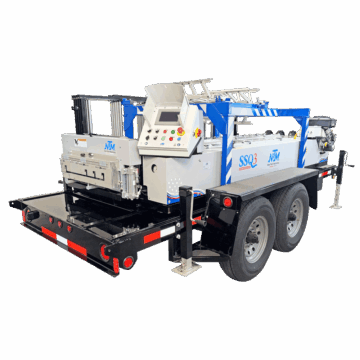
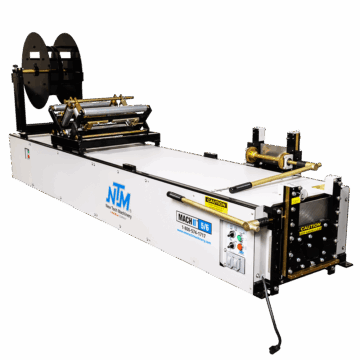
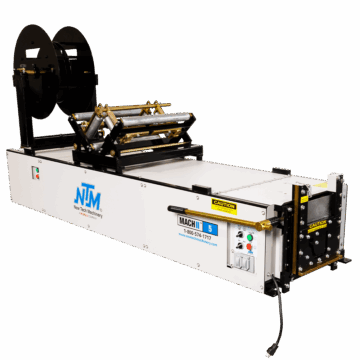
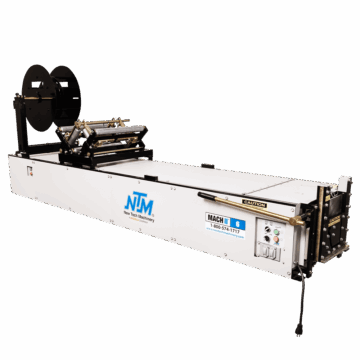
Roof & Wall Panel Machines
Trying to figure out how to adjust the shear dies and blade to your board and batten profile on your SSQ II? Follow this step-by-step guide to get it done right.

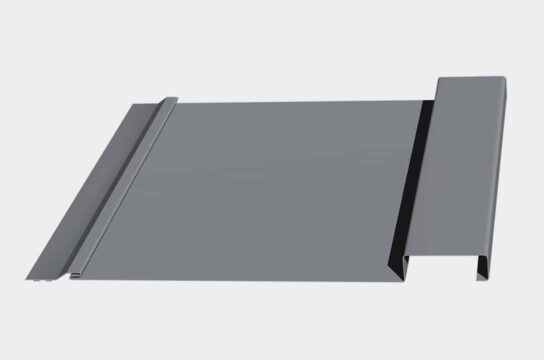
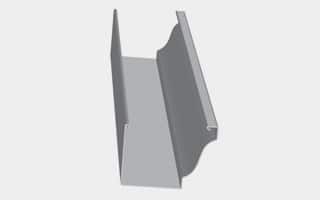
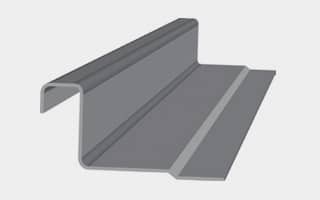
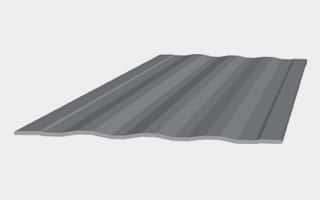
In this step-by-step guide, we’ll walk you through the process of configuring the shear dies and blade for NTM’s board and batten profile on your SSQ II MultiPro Roof and Wall Panel Machine. If you need to learn how install or how to adjust NTM’s board and batten profile, click on the links.
For over 30 years, New Tech Machinery (NTM) has helped contractors by providing the highest quality rollforming machines and customer support. Part of our mission is to educate our machine users on processes involved in operating and adjusting their machines for optimal performance. To ensure you fabricate your panels correctly, we’ve produced videos and articles available in our Learning Center to make adjustments simple.
Ensure you have the necessary tools ready before you begin.
Tools Required:
Notes on Torquing:

a. With the shear guard off, locate the warning label and ensure you do not operate the machine without the shear guard. Always work behind the shear or in front of the shear, but never work through the shear.
b. Position a 7’ or 8’ piece of material in the entry guide and jog it through the machine. Stop once it gets past the bead rollers.
c. Once the material is to the shear, use a 9/16” socket or wrench to install the number one shear blade with the skinny point towards the center.
d. Tighten the two bolts securely.
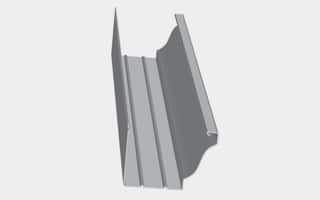
a. Identify the right entry die by the bevel point on the tool steel. Also, the opening should direct towards the center of the panel when it bolts on to the inside.
b. For the left entry die, note there is no bevel, just the opening directed towards the center.
c. Install the left entry die using existing bolts with a ½” wrench or socket with a 4” extension. The die should be to the center and away from the edge so it doesn’t hit the solid part of the die.
d. Thread the bolts in, ensuring adjustability within the slot to slide the die back and forth for proper alignment. Secure the bolts finger-tight.
e. Install the right entry die similarly, ensuring proper alignment.
f. Power up the UNIQ™ Controller and pull out the emergency stop button.

a. Jog the material slowly through the entry dies. Check for deflection on the panel as it passes through the dies for about 6”-8”.
b. Press the emergency stop button.
c. Tighten the left die bolts on the outside and inside with a ½” socket with a 4” extension.
d. On the right die, make sure there is no deflection off the dies that ride on the inside of the board and batten profile. You should be able to push down and also lift up slightly. If there is no play, loosen the center bolt with the washer and the jam nut underneath using a ½” wrench.
e. Turn the jacking screw clockwise to raise the shear slightly for play.
f. Lock the main bolt and jam nut to maintain the height. Slide the right die back and forth to leave a 1/16” gap from the corner.
g. Tighten the two bolts on the right entry die with a ½” socket.

a. Using a 9/16” socket wrench, loosen the seven bolts on the backing plate and slide it over.
b. Re-tighten the bolts.
a. To install the left exit die, match it to the left entry die and install the bolts the slots. Tighten using a ½” socket or wrench.
b. Install the right exit die, but with about 1/32” of the outside of the entry die. After confirming alignment, tighten the bolts.

If you can fit a piece of paper between the shear blade and the shear die, then it needs to be tightened. The set screws at the bottom need to be adjusted.
a. Loosen up the jam nuts with the 5/32” Allen wrench on both sides until it touches the plate.
b. Tighten approximately 1/16” on each side.
c. Tighten jam nuts.
d. check that shear dies are tight.
a. Power up the UNIQ® controller and press the blue button to start.
b. Jog the material out at least 6”. Slowly feed the material through the shear dies.
c. Use both left and right shear buttons simultaneously to activate the shear. Shear two pieces.
d. Press the emergency stop button to power off the machine.
e. After shearing, inspect the panel corners for any tearing or issues.

a. Activate the shear by pressing the blue button.
b. Run out the panel and shear off the back half.
c. Use both the left and right shear buttons simultaneously to activate the shear.
d. Press the emergency stop button to power off the machine.
e. Inspect the panel legs on both sides to ensure it’s running straight.
a. Re-engage the emergency stop button for safety.
b. Install the top shear cover and tighten the bolts with a 3/8 wrench.
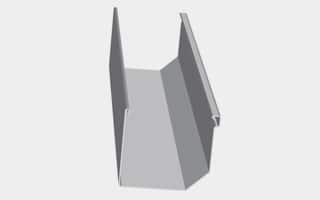
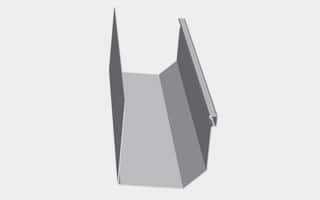
c. Install the box assembly for the board and batten profile.
d. Finger-tighten the three bolts initially.
e. Align the profile with the entry and exit female dies.
f. Tighten the bolts securely.
g. Reinstall the bolt to secure the run-out stands.
a. Install the top covers.
Well done, you’re ready to run your first board and batten profile!
That concludes the step-by-step guide on configuring NTM’s board and batten shear dies and blade. Ensure safety precautions are always followed, and remember to consult additional videos for adjustments if needed.
To learn more about NTM’s SSQ II MultiPro Roof and Wall Panel Machine, or about our board & batten profile, or for more information about NTM portable rollformers or equipment, contact us to speak with an account manager. For service-related questions, contact our service team.


Monthly digest. Unsubscribe anytime.