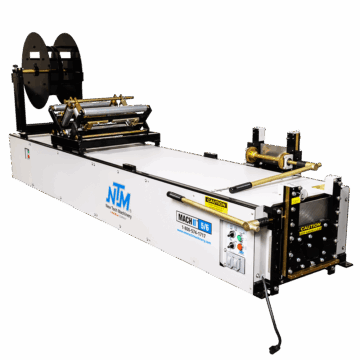
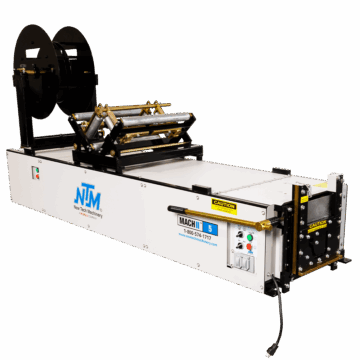
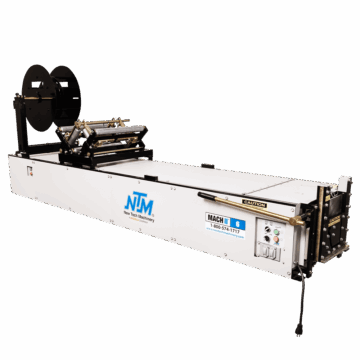
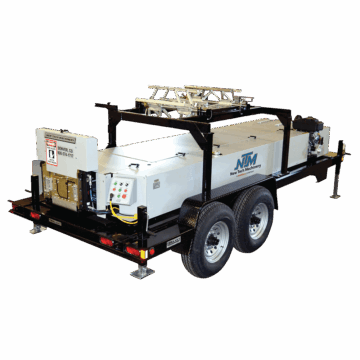
Flagship
Roof & Wall Panel Machines
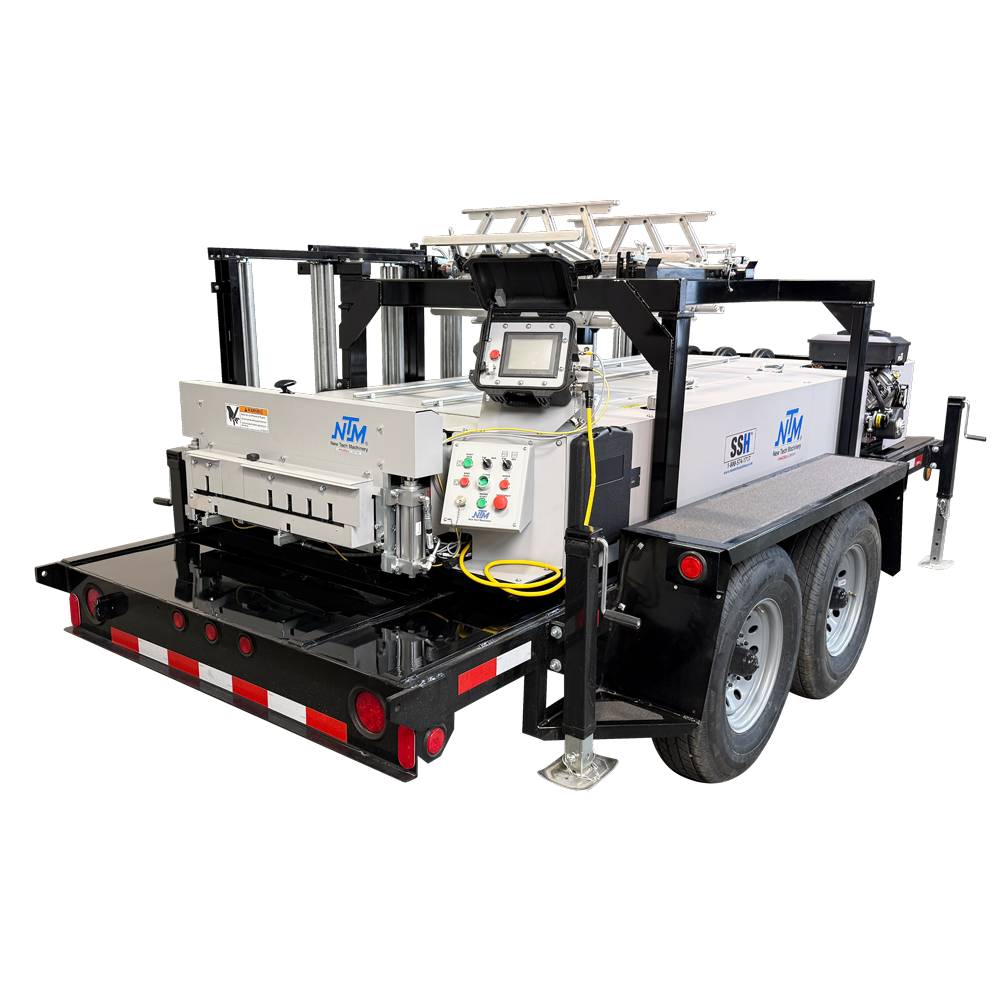
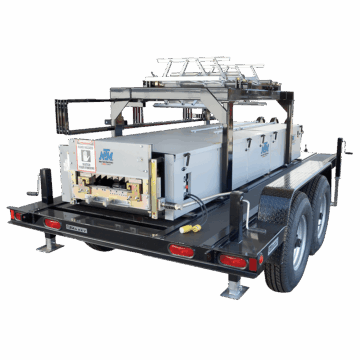
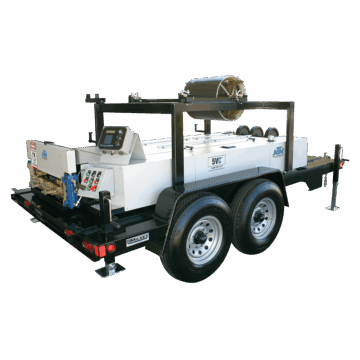
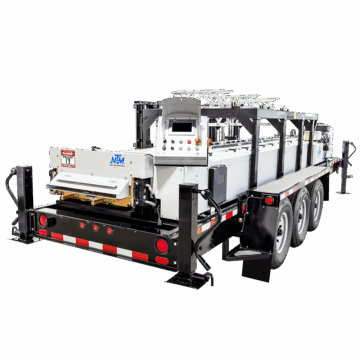
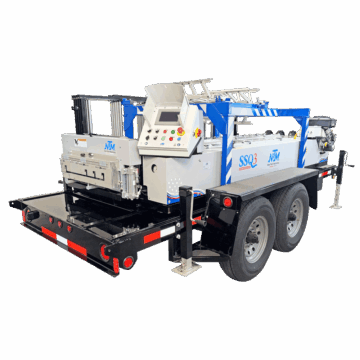
We often get asked how to change the profile on a New Tech Machinery SSH™ Multipro Roof Panel machine. This is a valuable skill that can save you time and money, and get you back out on a job site faster. Nate Roston, Outside Service Manager, walks you through step-by-step how to change your NTM SSH™ Multipro profile.
Follow along with this article: https://newtechmachinery.com/learning-center/how-to-change-a-profile-in-an-ssh-multipro/

We don’t wanna put the material in a bind but we also don’t want to have the material shifting from one side to another. So I get that in, make sure it’s nice and smooth. And that’s where we set that at.
Hi Nate Roston of the New Tech Machinery here. And in today’s video we’re gonna demonstrate how to change the tooling in an SSH roof panel machine.
Notice that all of our machine covers are securely in place mounted onto the machine. Make sure that those covers are always in place whenever the machine is in use. You’ll also notice that we have a warning label for the shear. Especially you can cause serious damage if you reach through the shear. So never work through the shear just on one side or the other. Keep your hands or any part of your body away from the shear as much as possible.
We’ll also remove the main control cable to prevent any functionality. And also the E-stop we wanna make sure is pushed in cause that will disable the machine but we wanna make sure there’s no possibility of functions coming through. Also, we wanna make sure that your machine is unplugged and secure and the proper lockout tagout for your area.
Okay, now that we’ve secured the machine and everything is safe, we’ll remove the covers. So for demonstration purposes, we’re gonna remove the side covers. That’s gonna give us a better view of what we’re showing you today, which you normally don’t have to do when you’re changing out the tooling, but we wanna make sure that you can see everything that we’re doing.
So the next step is gonna be for us to remove the existing profile. And for that we’re gonna need a quarter inch Allen wrench. And for the shear guards you’ll need a half inch socket. Once we loosen up the A bolts, you’ll notice that they don’t want to come out. That’s because they’re attached to the tooling rail. So really all you have to do is just loosen ’em up hold ’em, make sure they don’t fall in, but don’t try to take ’em out.
So as stated in the manual, you can start with the right rail Number one, and then you go to the left rail and remove all the way up and down. So you’re gonna work your way from left to right from the entry to the exit. Then we wanna make sure that when we put our tooling away that the rollers are not touching and that they freely move they’re not touching any surface that’ll keep them from any damage or any moisture getting on ’em. So now that we’ve started that, you just continue the process till all the tooling is removed.
So once we removed all the tooling rails, the next thing we need to do is remove the shear guards. But before we do that, we have to remove the shear cover. So we wanna make sure that we emphasize how very important it is to be careful around the shear because serious injury can occur if we’re not. So now that we’ve got our cover removed, we have to remove the shear die. So we wanna make sure that we’re always working in the front of the shear or the back of the shear, but never reach through the shear.
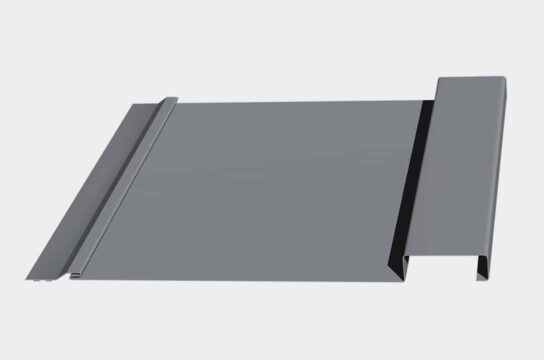
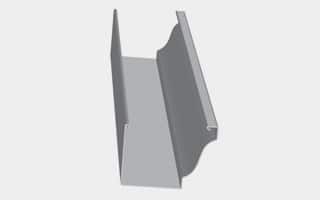
So once the tooling rails and the shear guards are removed the first step is to identify which profile you’re putting in. And for today’s demonstration we’re putting in the SSH 100 profile. We’ll grab the R one rail. You notice that There’s locators in the profile so there’s really no guesswork about where it’s gonna be in the machine. So we just line that up and you’ll feel it and we just go finger tight but not all the way get all of ’em started finger tight.
So now we’ll use our wrench, tighten those up. You don’t wanna overtighten them. So make sure you use a handheld wrench or an impact set to the proper torque. So we’ve got rail R1 in place for the SSH100. Next, according to the manual we’ll install the rest of the tooling on the right side. And then we’ll do the same thing for the left side starting with rail R2 for the SSH100. Next up would be R4 for the SSH100.
So now that we’ve done the right side we’re gonna install the tooling on the left side starting with the L1 rail. As we install this tooling, you’ll notice that the tooling is stamped for the the 150 however we use the SS150 for the SS100 also for the SS450 and the SS450SL. Next up is the L2 rail and you have to be careful how you install it. First we have to fish the first part through. Now we’ll install the L3 rail. So finally we’ll install the L4 rail.
And we start with the C dimension. And first thing we want to do is look at in our manual and it’s gonna give you a quick reference chart to show you what the C dimension would be. And for the SSH100 that C dimension will be 7-1/16. And then we want to tighten up our clamp and that’s gonna keep that entry guide shoe from moving left to right.
Now that we’ve established our C dimension the next would be to cut a piece of the coil that you’re gonna use. And in this case we have 24 gauge 20 inch. So in order to set the left entry guide we wanna make sure we just have a short piece of our coil and we make sure that the edge of the material’s up against the right shoe.
And then we bring it in, which is where it just touches. We don’t want to press it in too much, but we also wanna make sure that there’s no play from side to side. So we bring that in just where it barely touches the material. We don’t wanna put the material in a bind but we also don’t want to have the material shifting from one side to another. So I get that in, make sure it’s nice and smooth and that’s where we set that at.
So to align the rails with the entry guide the first step would be for us to loosen up all the D bolts on the clamps. For the carriages.
The next step would be to set our rail to one and a half on the scale for the SSH100. The next step would be to measure to the string. And now when we use the string, we always wanna make sure that the string is level with what we’re measuring so that we’re accurate from end into another. So here I have four inches to the string from the rail. So now we’ll clamp the D bolt down to secure the first end of the rail of the R1 rail in place. Then we go to the other end and we make sure that it’s the same. And now we’ll tighten up the D bolt.
So the next step would be for us to align the end of the R1 rail and the beginning of the R2 rail and then tighten up the D bolt. We just wanna make sure that they’re flush with one another because there’s no spacer here. We’ll once again, measure to the string, so about four inches. And then we’ll make sure that the exit end is the same tighten that one. So we wanna make sure that the beginning of R3 is flush with the spacer at the end of R2.
So once we align the beginning of Rail R3 we get that measurement which is four and three quarter. Now we set the trailing end of R3 to that same setting and then we’re done on this side. Now we tightened up the D bolt we’ve completed the right side alignment.
Now it’s time to go to the left side and the step one would be the B dimension which is one in three quarter inches on the scale from the entry guide to the rail. First thing we do, once we get that we tighten up the D bolt and now what we have to do is measure the distance from the face of the D bolt to the string and then we’ll do the same thing on the exit end and lock that down.
The one thing we want to clarify is why we’re taking the measurement, where we’re taking the measurement from and where we’re taking the measurement to. So the fixed measurements are obviously the A dimension, which is how the the right entry guide is set to the first rail and the B dimension which is how the first rail is set to the left entry guide. But what changes and what we wanna make sure is that this rail is parallel to the string. So that’s why we measure from the beginning of the rail to the string and whatever that number is we wanna make sure that matches on the exit end of that same rail so that it runs parallel. And that way your panel’s gonna run good.
So at the end of rail one on for the SS150 which is the same left side, we would use for the SS100 the SS450 and the SS450SL. You have two steps on this spacer, we’re gonna use because we’re doing the SS100 we’re gonna use the top spacer, which is the shortest one and it’s also has 100 marked on it. If we were doing the 150 or the 450 we would slide it to to be flushed with this part. But ’cause we’re doing the 100 we’re going to wind it up with the 100 step on the spacer and then tighten up the D bolts. So for the last rail for the SS100 we’re gonna repeat the same process as all the other rails make sure they’re parallel with the string.
So now we’re going to reinstall the sheared dyes for the roller set. And the most important thing is that we’re very careful around the shear that we’re working from the front of the shear or the back of the shear, but never through the shear. So we’ve cut a short piece that we wanna run through to set up our shear guards and then take a look at our dimensions on our panel. But first thing we want to do is cut the corners so that it feeds through the machine safely.
To run a test piece through the machine, we have to be very careful because we have to remove the lock from the plug so we can plug the machine in and run a piece through. Just have to be careful, just keep our hands and everything out of the way as we run through the machine. We’ll also have to plug in our main power cord to our push button box. Emergency stop off. Power on.
Once you get the panel through the shear safely you wanna make sure that everything lines up. There are images in the manual that tell you exactly how you need to have 1/32 of daylight around the bottom of the profile and along the side to support the leg. And then we tighten everything up.
And then when it comes to alignment of the upper shear blade you wanna make sure that you’re able to catch the point of the number one blade inside the leg of the panel. But at the same time, you want to be able to catch one of the points of the regular blade coming through the vertical part of the other side or the male leg. If need be, we’ll have to shift this upper blade left or right in order to establish that. So we’ll do a test cut and make sure it cuts cleanly. Now we’ll run our piece out.
So now that we have changed our tooling and we’ve got our shear set up the next thing would be any fine tuning or dimensional changes that would be necessary. Please look on our YouTube channel for videos about how to make adjustments and how to change the profile or change any dimensions on your profile on our YouTube channel. Thanks for watching and we’ll see you in the next video.

Machine tutorials, maintenance tips, industry insights.