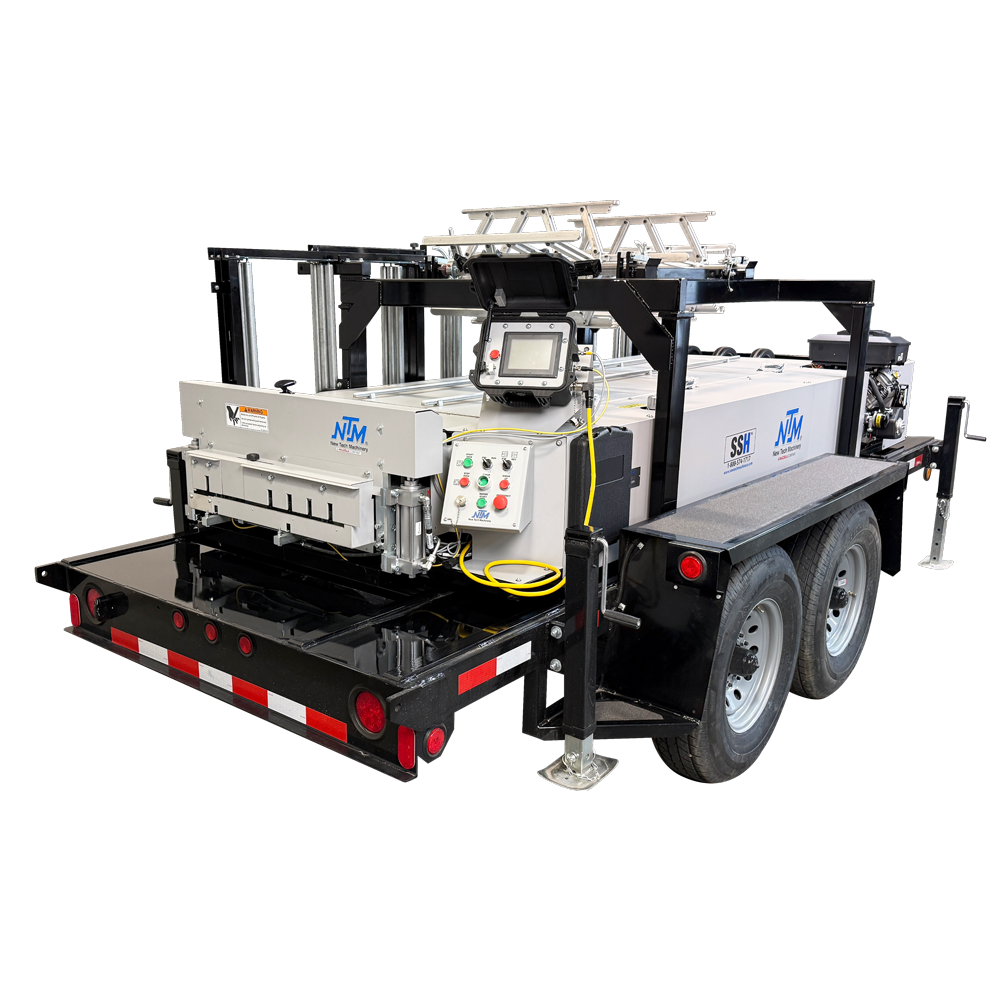
Flagship
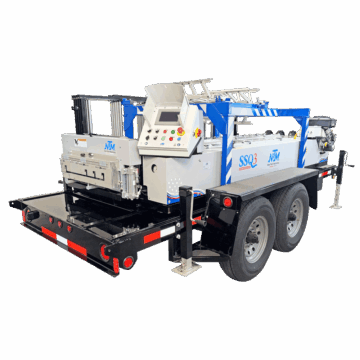
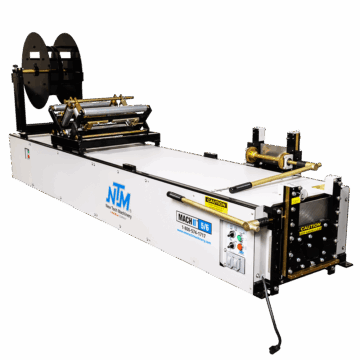
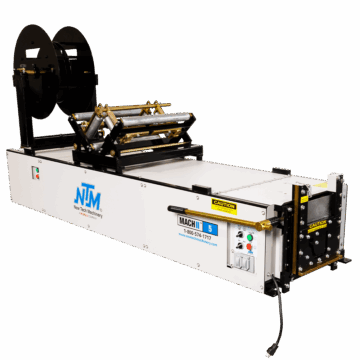
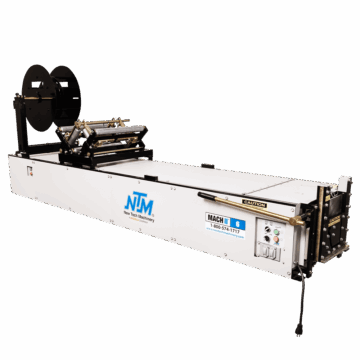
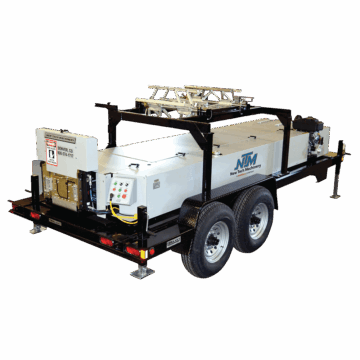
Roof & Wall Panel Machines
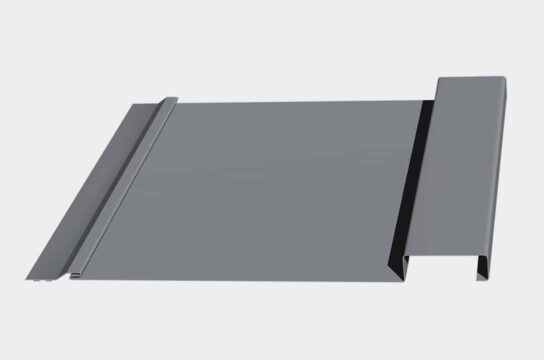
Working with NTM's new board and batten profile? Find out how to adjust for uphill and downhill by following these steps.
If you’re working with the board and batten siding profile on your SSQ or SSQ II MultiPro Roof and Wall Panel Machine, it’s essential to ensure that your installation is straight and dimensionally accurate. In this article, we’ll walk you through the process of adjusting your board and batten profile for uphill and downhill conditions. Please note that safety precautions should always be a priority when working with machinery.
Since our launch in May, 2022, the Board and Batten profile for our SSQ (dating back to 2014) and SSQ II MultiPro have really taken off. Across the country, we’re seeing an uptick in metal board and batten across a variety of styles, from commercial buildings to residential homes and apartment buildings to rural farmhouses and barns. Along with this exciting new profile comes the need to manage any adjustments that need to be made in plant or out in the field. Please check our articles and videos for more information on how to make adjustments to NTM’s board and batten profile.
Materials Needed:

Before making any adjustments, ensure the machine is powered down for safety. Start by hitting the emergency stop button and switching off the main disconnect. Lock and tag out the machine to prevent any accidental restarts.
The shear guard must be in place when running the machine to prevent any damage. When working with the shear, always work in front of the shear or behind it. Never work through the shear.
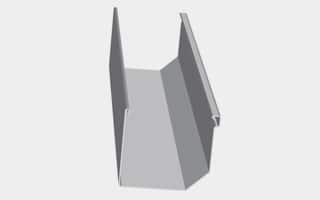
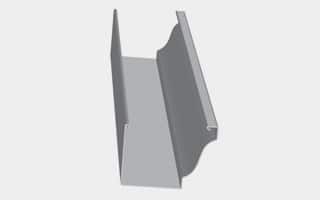
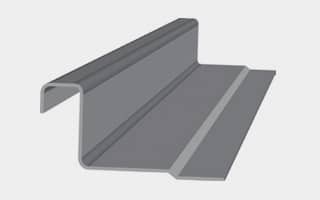
Cut a 6’ panel and run it through the machine with the board and batten profile. Check the panel for uphill or downhill camber to see if you need to make adjustments. Flip the panel over and measure the inside leg that slides into the male side. It should measure 5/16”. If it doesn’t, proceed to adjust the entry guide.

If your measurement is shorter than 5/16”, you need to grow the leg. Loosen the right shoe and move the entry guide to the outside to add material. Make sure you move it by the required 1/16” increment.
If you have too much slot, loosen the left side and slide it over until it’s snug with no play, then lock it down.
Finally, use the crank handle to align the marking plate with the notch.
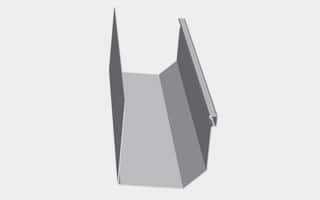
Check if both legs of your board and batten siding are at 90-degree angles. Place a flat edge or scale on the panel’s inside and outside to ensure they are square. If they’re not at 90 degrees, continue with the adjustments.
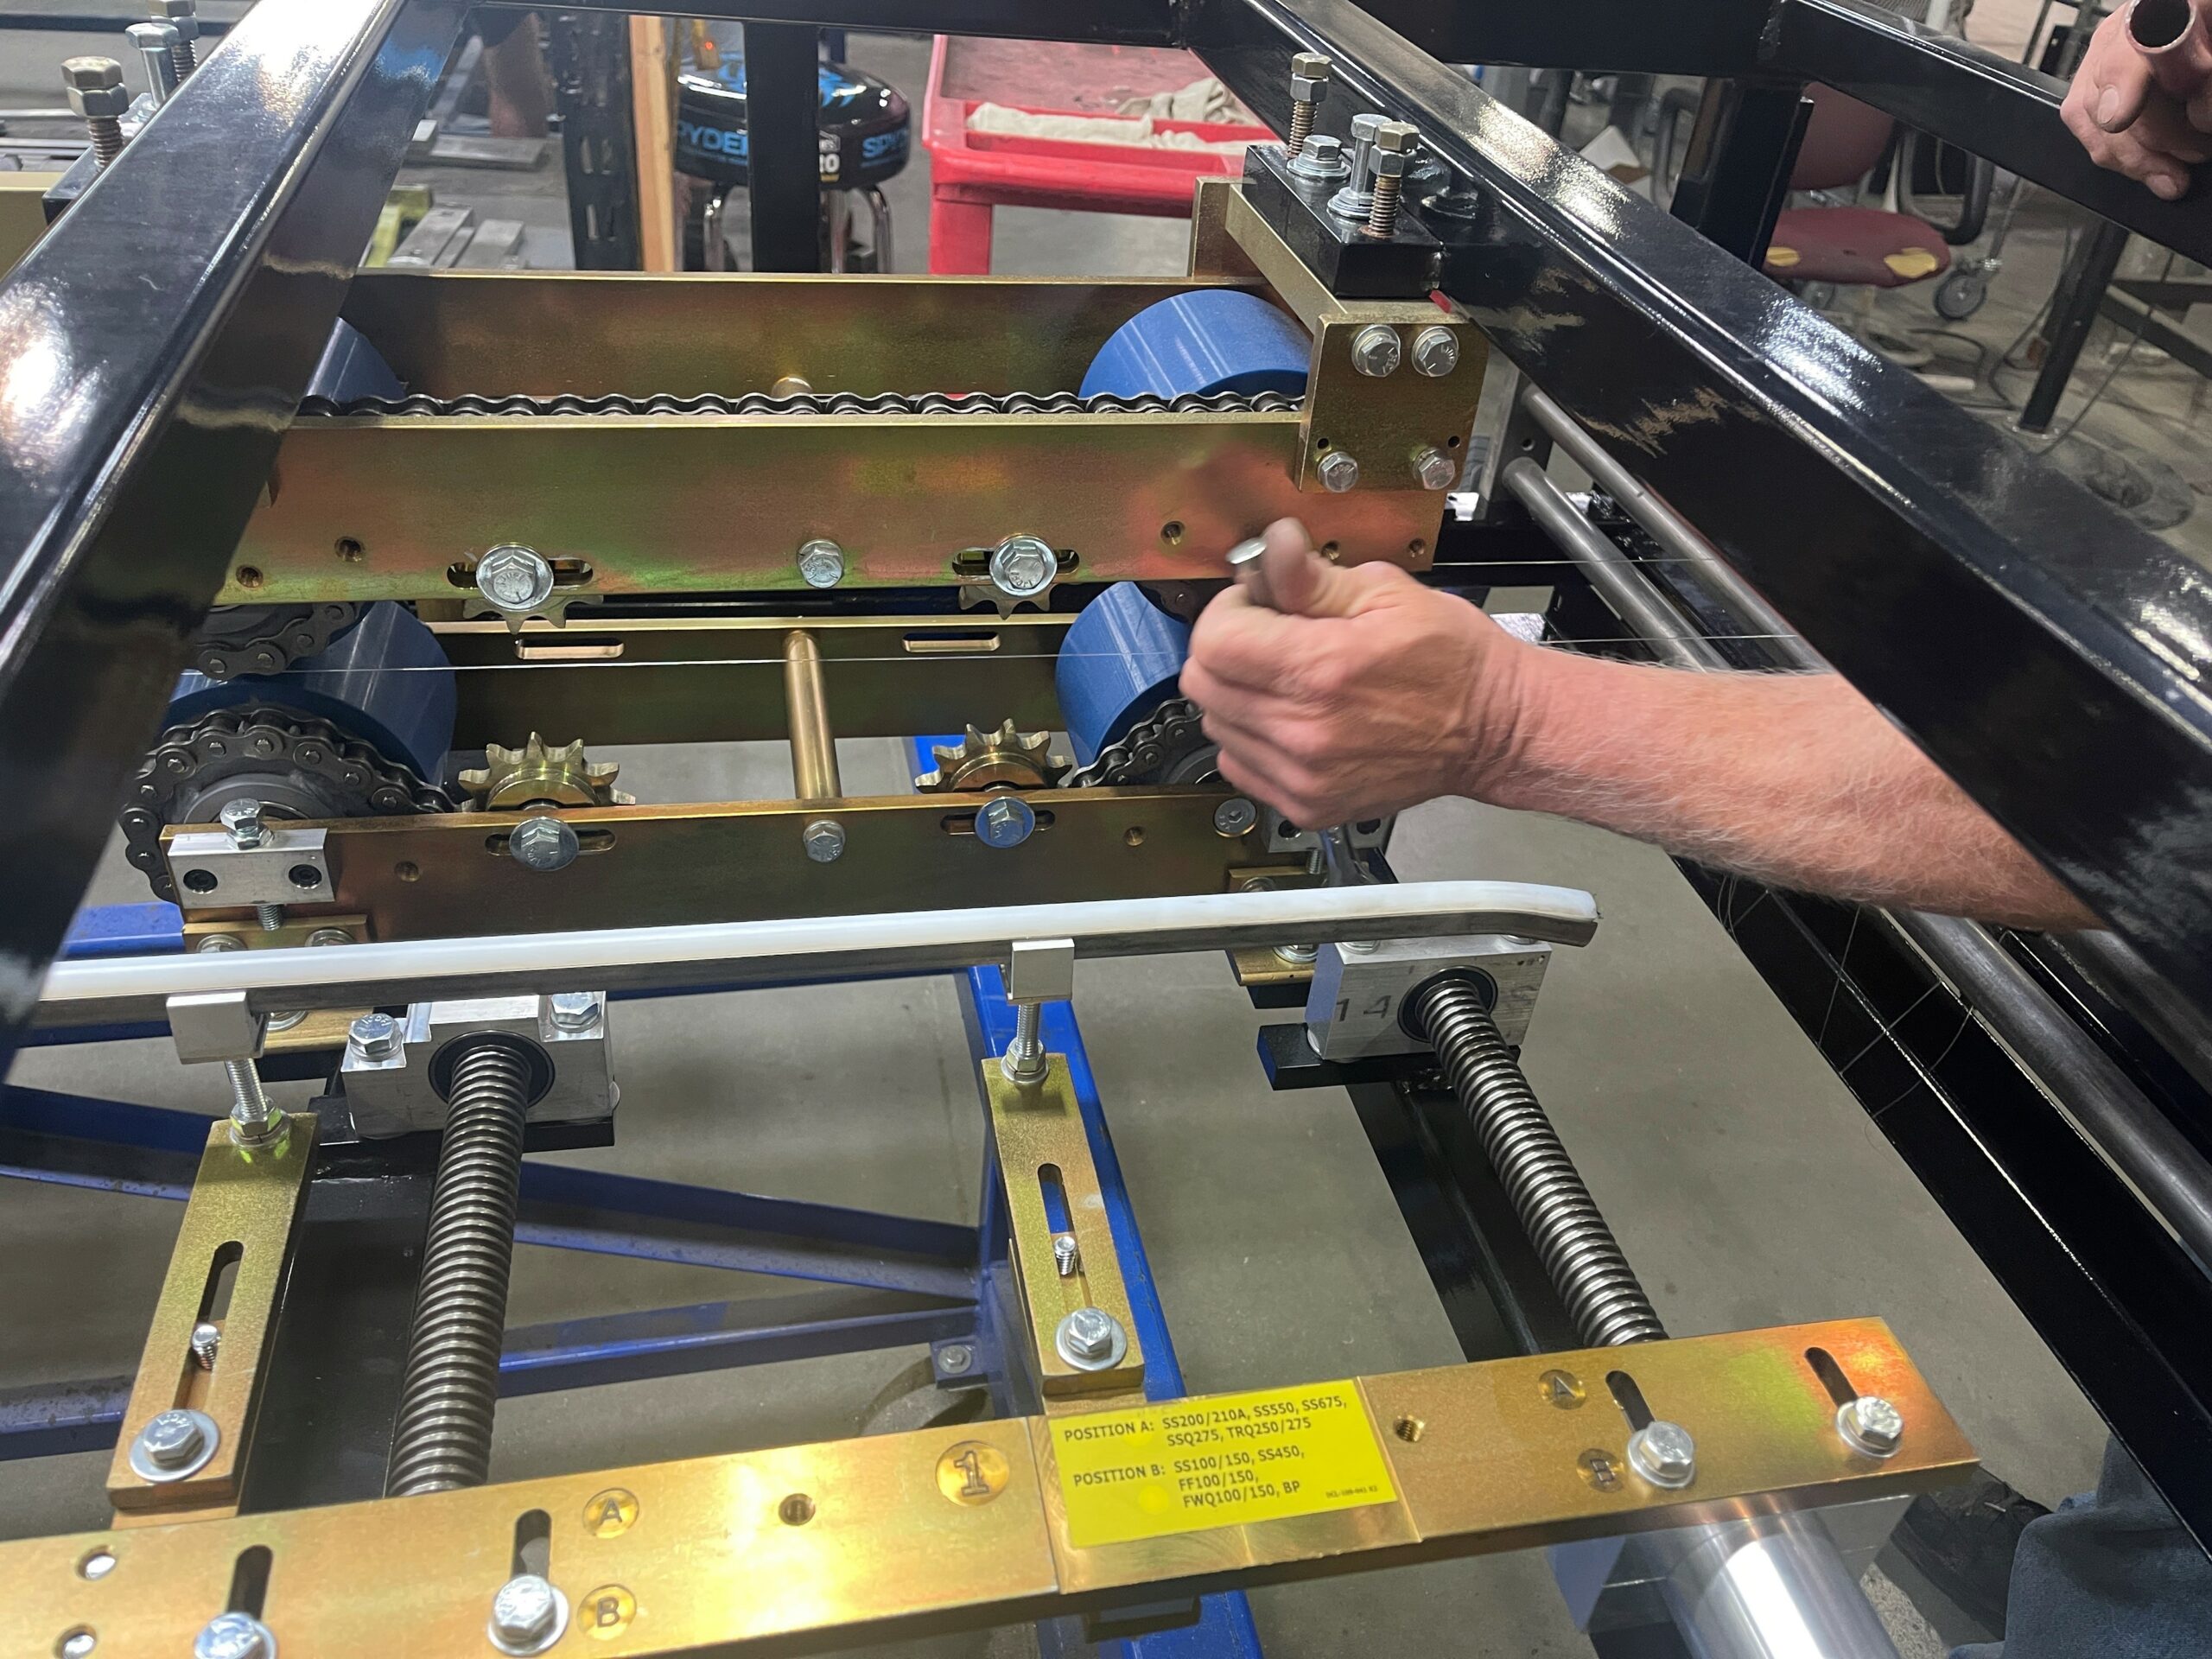
For the inside leg adjustment, locate on R12 the shaft marked in black. This is the “home position.”
If your inside leg needs to be tightened (closed), use a 5/32” Allen wrench to rotate the shaft clockwise by about 1/32”.
If your inside leg needs to be loosened (opened), rotate the shaft counterclockwise by about 1/32”.

For the outside leg adjustment, go to the last camber station (R14).
To open up an over-bent outside leg, use a 5/32” Allen wrench to turn the set screw clockwise by about 1/32” and lock it down.
To close an under-bent outside leg, turn the set screw counterclockwise by about 1/32” and lock it down.
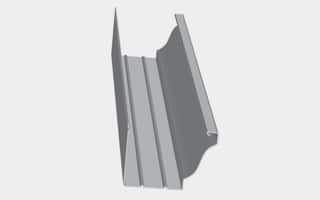
If you notice a downhill condition on either the male or female side of the board and batten, adjustments are needed. Use a 9/16” wrench.
For downhill on the female side, turn the bolt clockwise by a quarter turn on the last station to raise it.
For downhill on the male side, turn the bolt a quarter turn counterclockwise to lower it slightly.

Place a six-foot piece of coil back into the entry guide and run it through the machine. Inspect the panel to ensure it’s straight, and measure the inside leg to verify it’s 5/16”.
Congratulations, you’ve successfully adjusted for uphill and downhill conditions and ensured your board and batten siding is dimensionally correct. This ensures a smooth and accurate installation. If you have any problems after watching the video and following the steps, contact our service department.
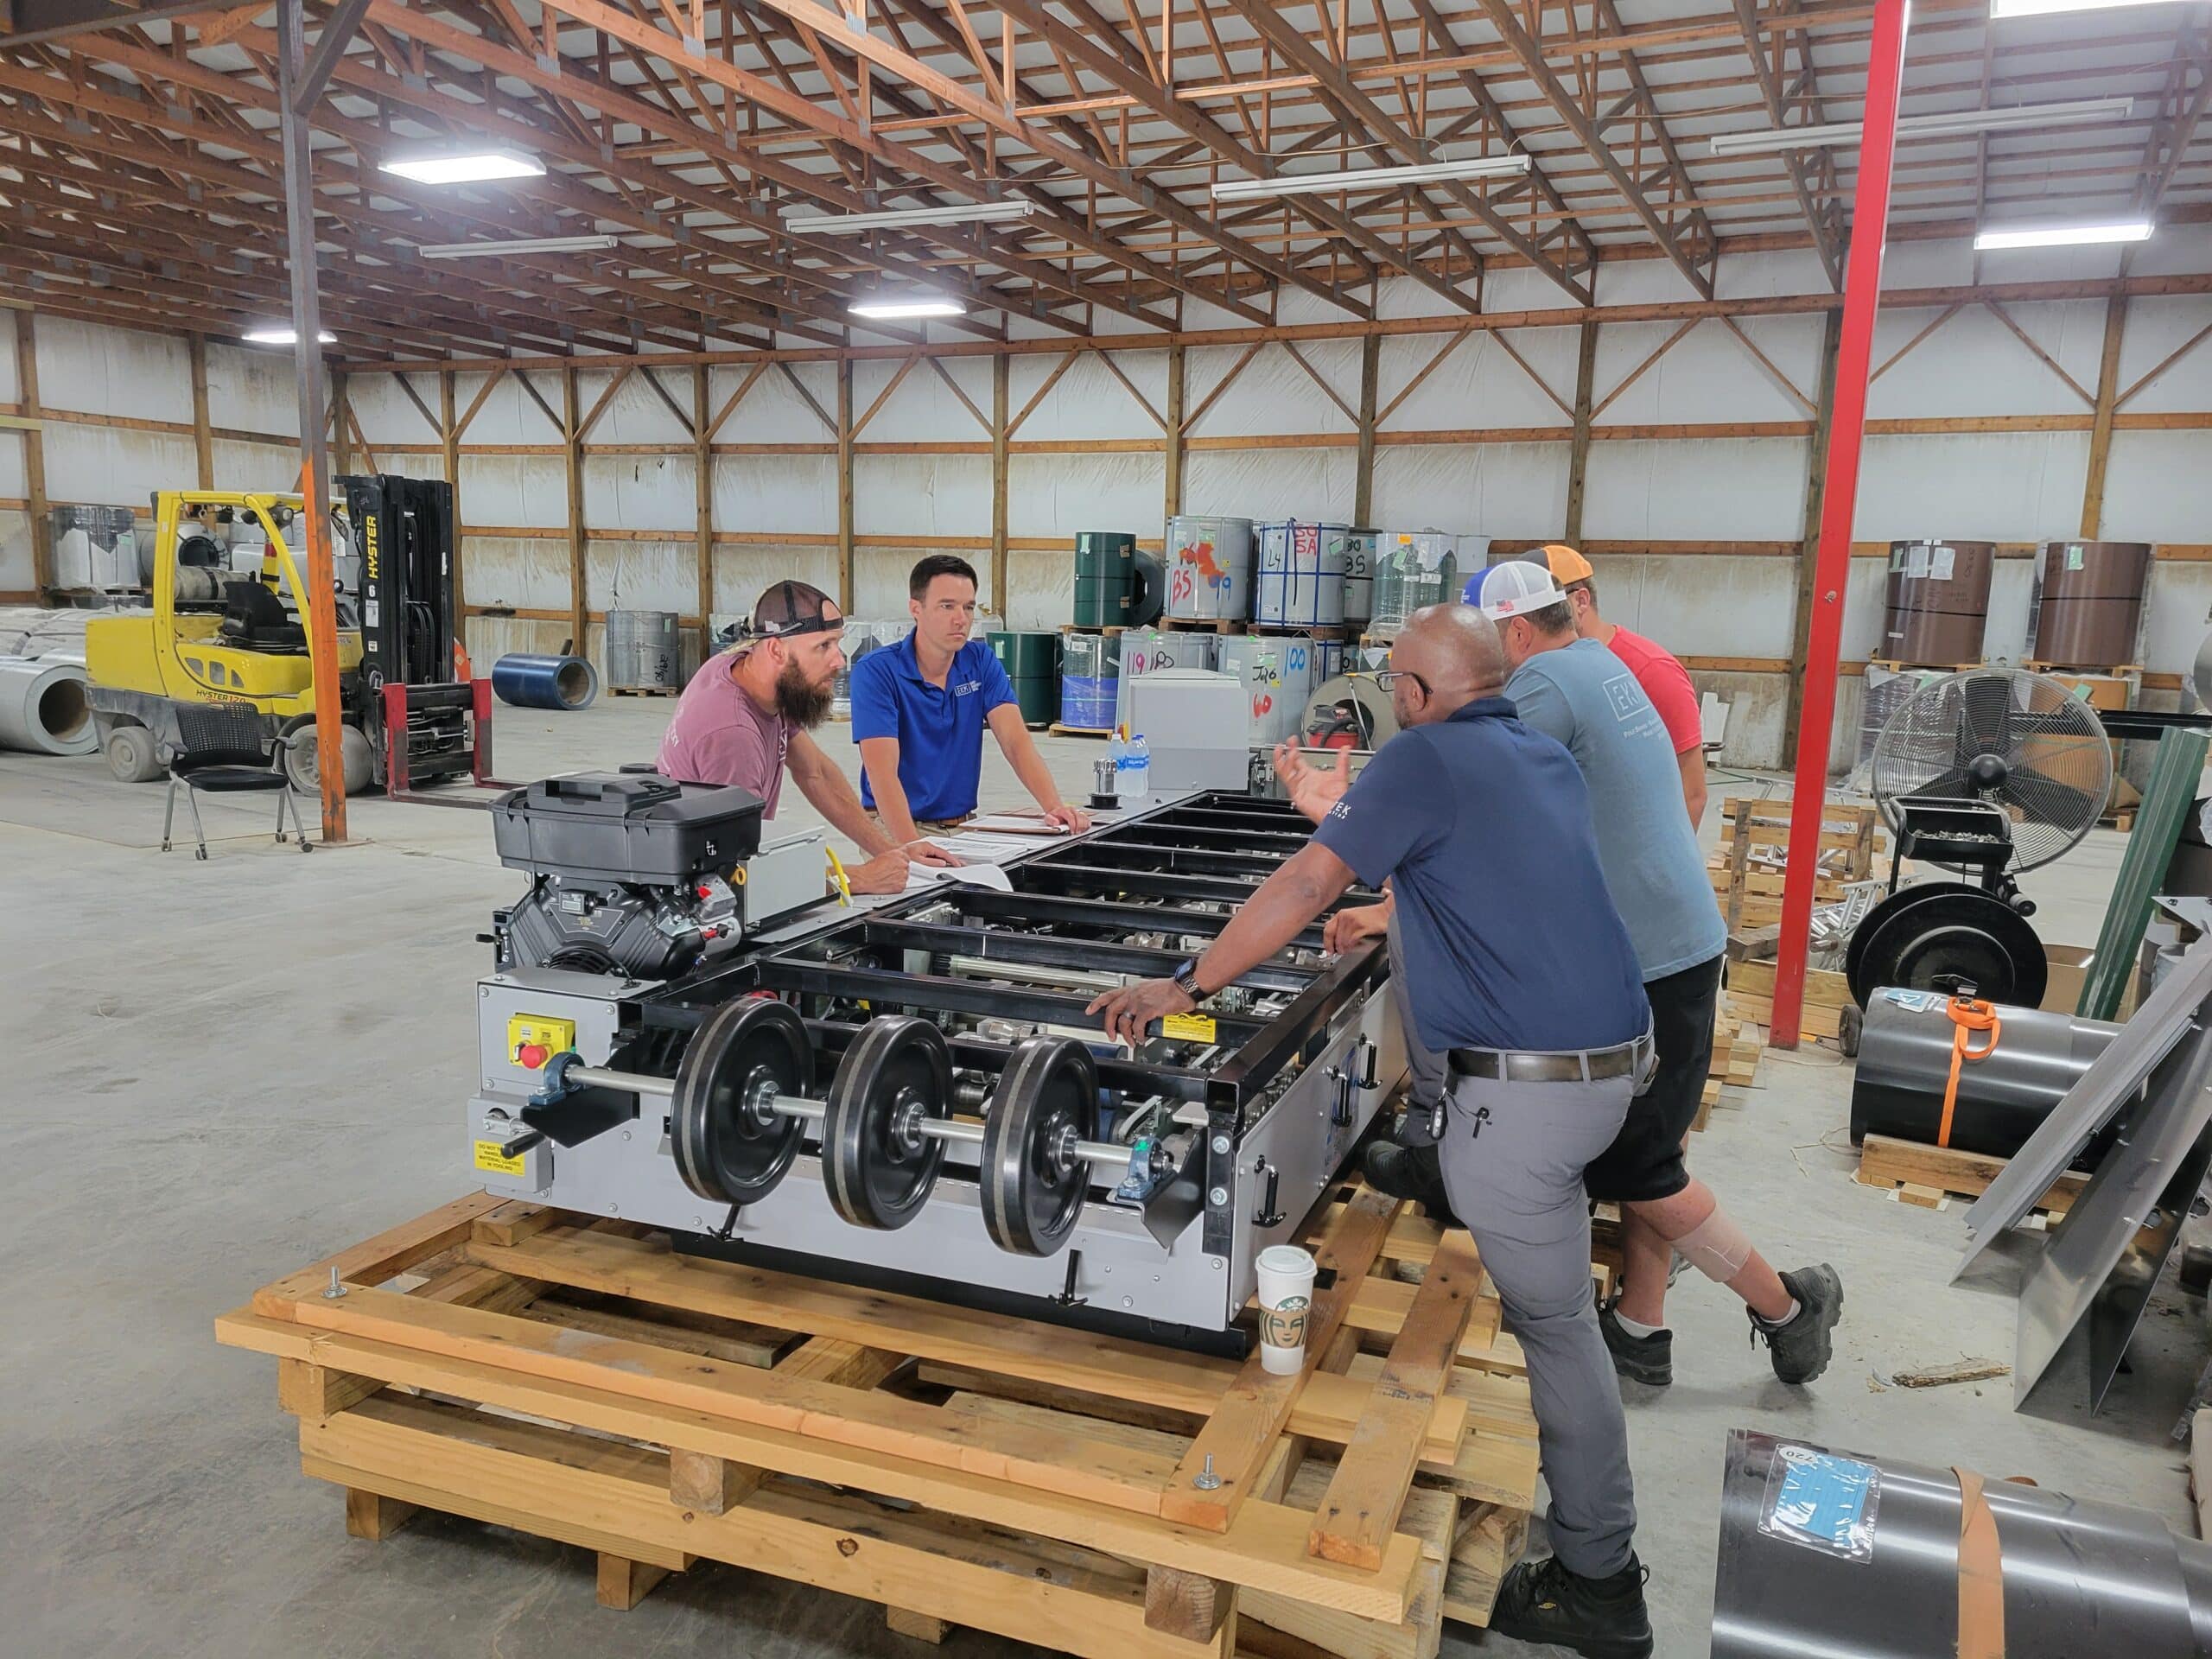
For more information about NTM machines and accessories, contact us to speak to an account manager. Remember, at NTM we pride ourselves on our products and the service and training we provide our customers.

Monthly digest. Unsubscribe anytime.