Flagship
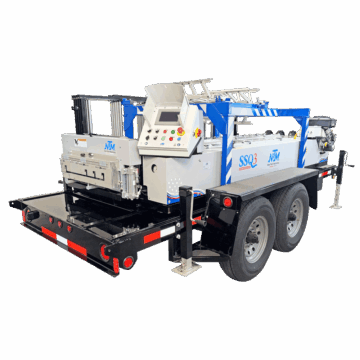
Roof & Wall Panel Machines
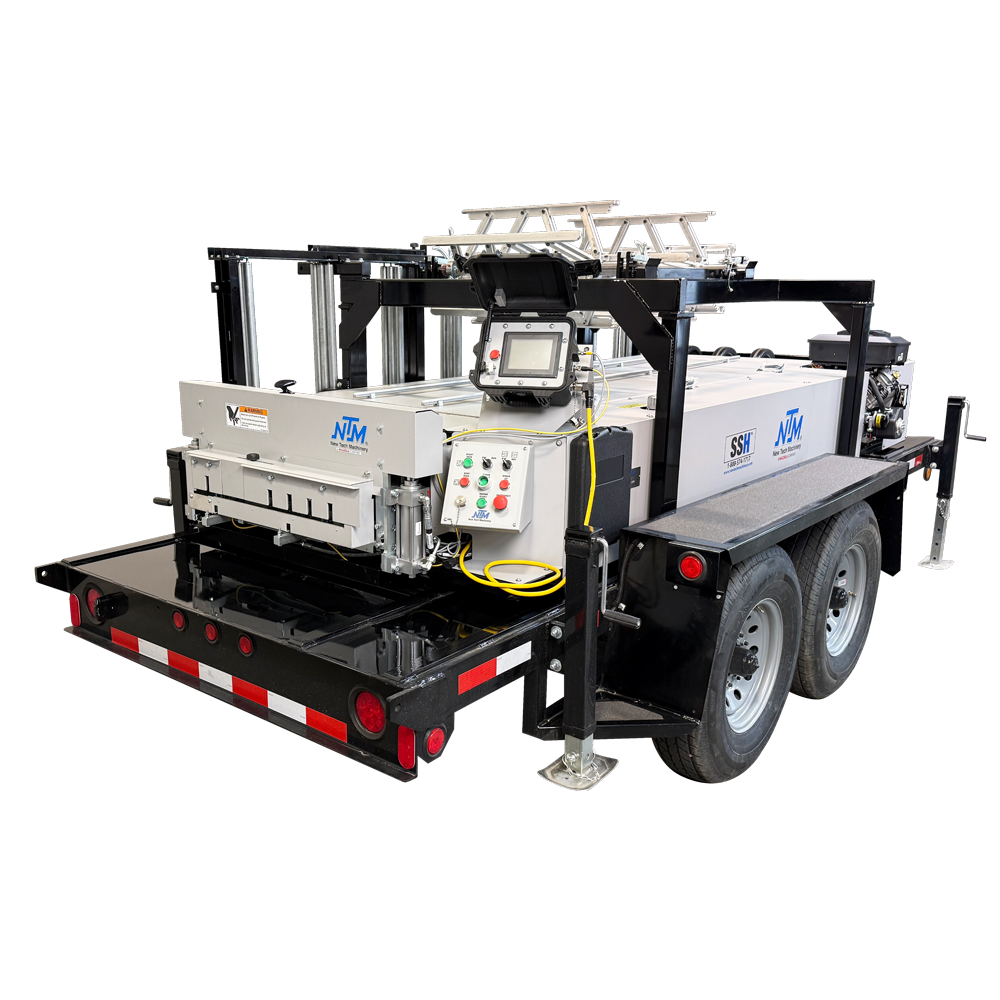
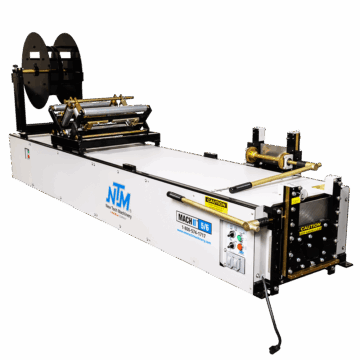
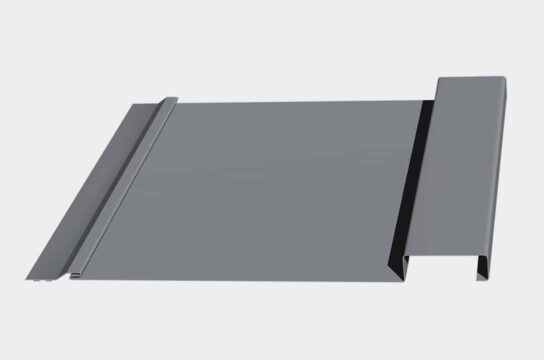
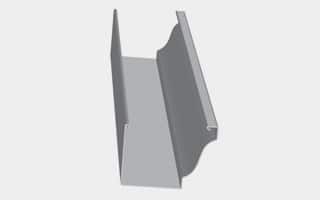
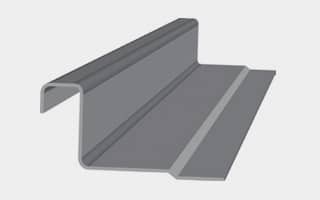
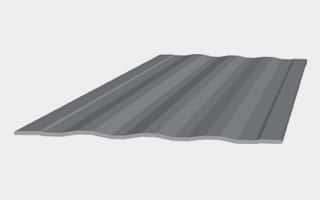
Want to know how to easily convert your New Tech Machinery WAV™ Machine from the 8-1F panel to the 12-1F panel?
**********************************
Discover how to switch your New Tech WAV™ Machine from the 8-1F panel to the 12-1F panel in this instructional video with Bryan Yancy from New Tech Machinery. Bryan thoroughly explains each step, prioritizing safety with lockout tagout procedures and careful operation. He leads you through adjusting the entry guide, setting the right and left entry guides, and modifying the tooling width of the machine. Additionally, the tutorial covers the detailed process of changing shear blades and profile dyes and aligning them with the new material for the 12-1F profile. This guide is essential for anyone needing to adapt their New Tech WAV machine for various panel sizes, providing clear and precise instructions for effective machine configuration.
Learn more about the WAV™ here: https://newtechmachinery.com/learning-center/the-enhanced-new-tech-machinery-wav-wall-panel-machine/
WAV™ manual: https://newtechmachinery.com/learning-center/manual/wav-wall-panel-machine-manual/
Adjustments video: https://youtu.be/w6KDjjxnhJs?feature=shared
Follow along with this article: https://newtechmachinery.com/learning-center/converting-your-wav-machine-from-the-wav-8-1f-to-the-wav-12-1f/
**********************************
Everything you need to know about NTM’s WAV™ Wall Panel Machine: https://www.youtube.com/playlist?list=PLUXq1D9mBVM1aFPyR84XFkyHB0EwSB7wv
Learn more about our products here: https://newtechmachinery.com/learning-center/
In this video:
0:00 – Teaser
0:20 – Intro
0:35 – Safety first
1:02 – Remove the covers
1:16 – Adjust the entry guide
2:56 – Ensure the center forming rollers are up, and guide rods are installed
3:14 – Adjust the exit guide
4:50 – Remove the 8-1F shear dyes
6:35 – Install another shear blade
8:16 – Install 12-1F shear dyes
12:10 – Test cut
13:06 – Check out our adjustments videos
13:24 – Outro
Interested in learning more about a machine? Contact us here: https://hubs.ly/H0f817Z0


Machine tutorials, maintenance tips, industry insights.