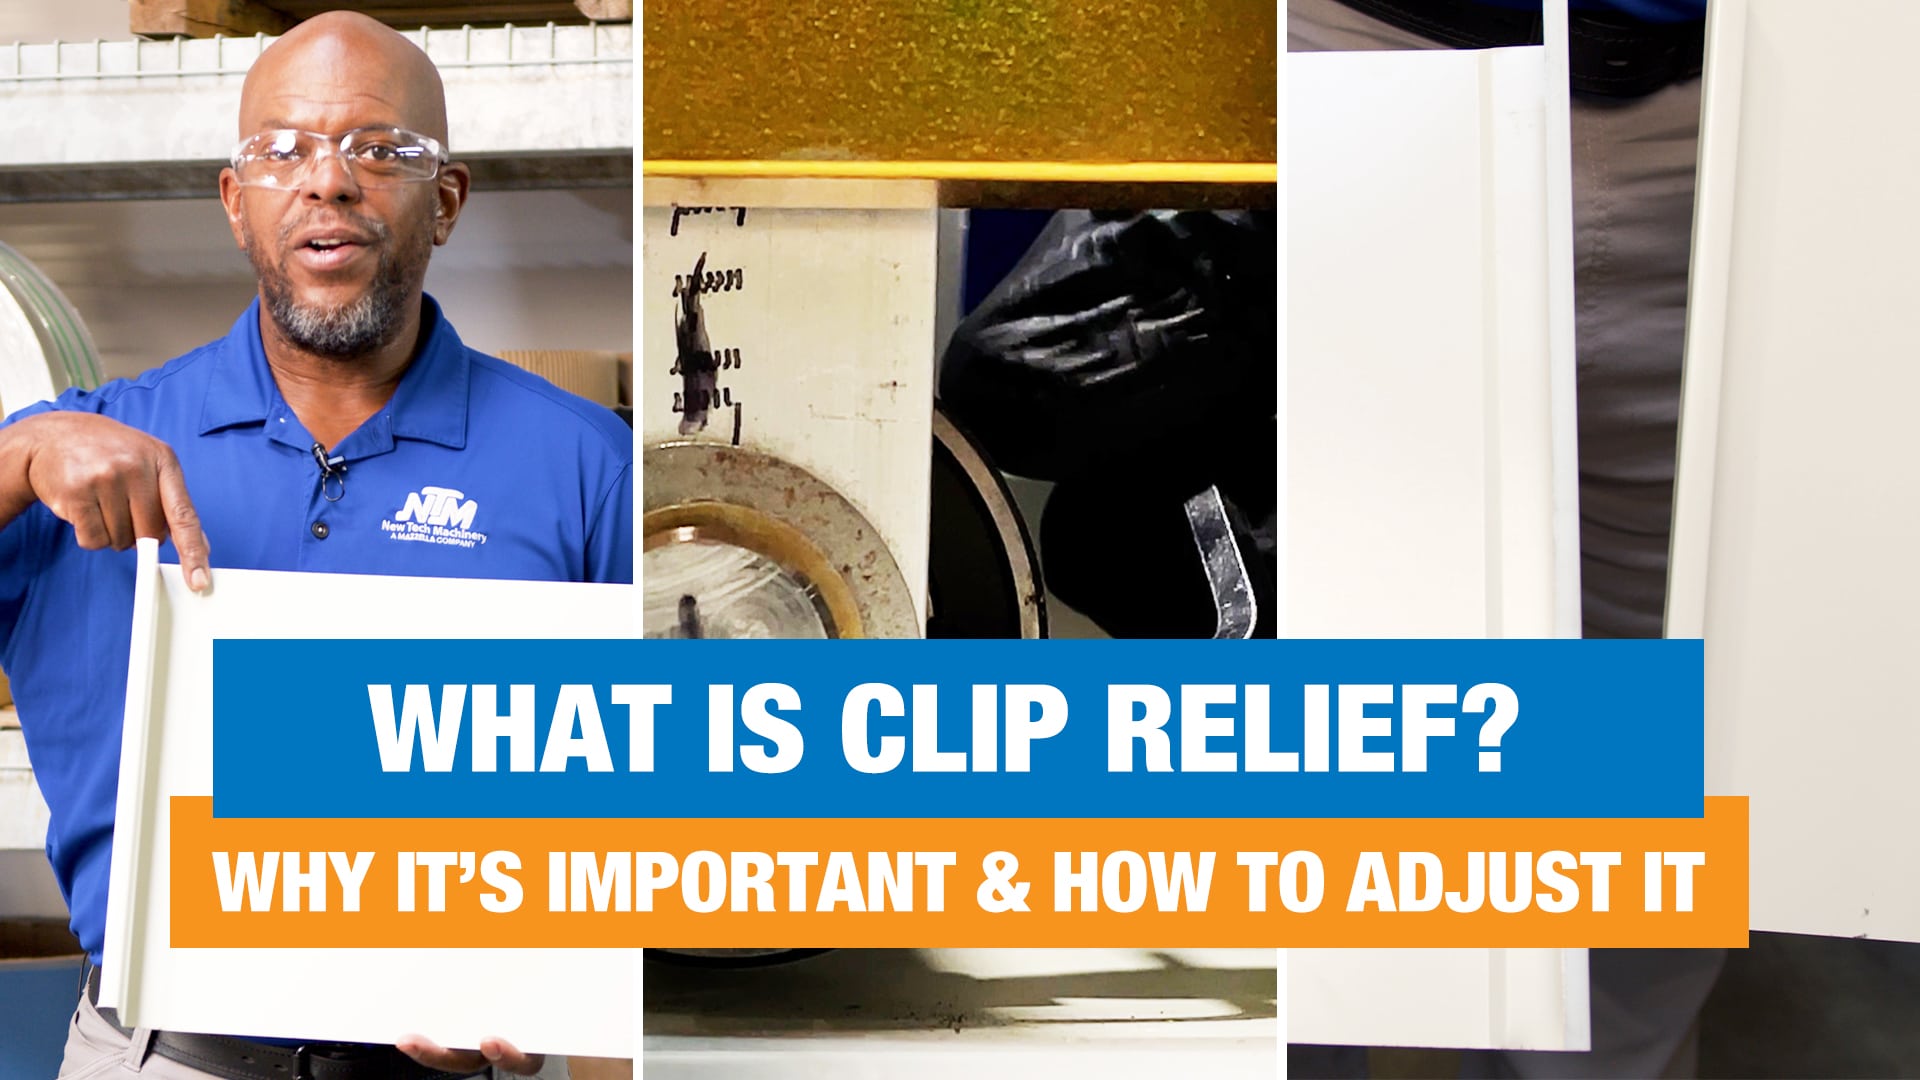
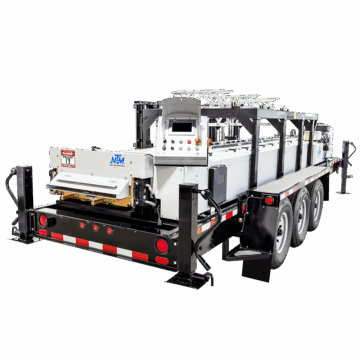
Adjusting the Gold Bars for Alignment on the SSQ II MultiPro
Need help aligning the gold bars on your SSQ II MultiPro? Here's everything you need to know, step-by-step!
/Rick Zand/3 min read
In our recent video on excessive movement and width adjustment, we received a common question: What should you do if your gold bar is out of alignment? In today’s guide, we’ll walk you through the steps to realign your gold bars to ensure your panels come out perfectly every time.
Understanding the Problem
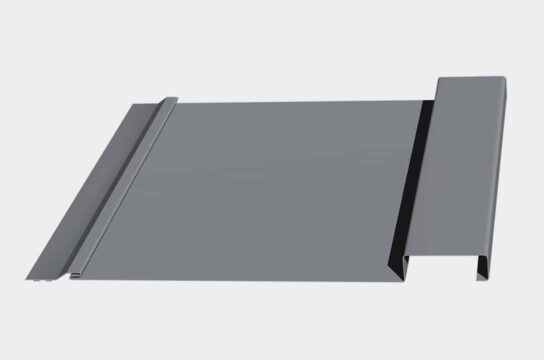
Gold bars can come out of alignment when the crank handle is forced while there’s material in the machine. This often happens due to the miter gears at the end of each rod jumping a tooth. Misalignment can lead to oil canning, panel deformation, or a severe uphill or downhill profile. Therefore, ensuring proper alignment is crucial for producing high-quality panels.
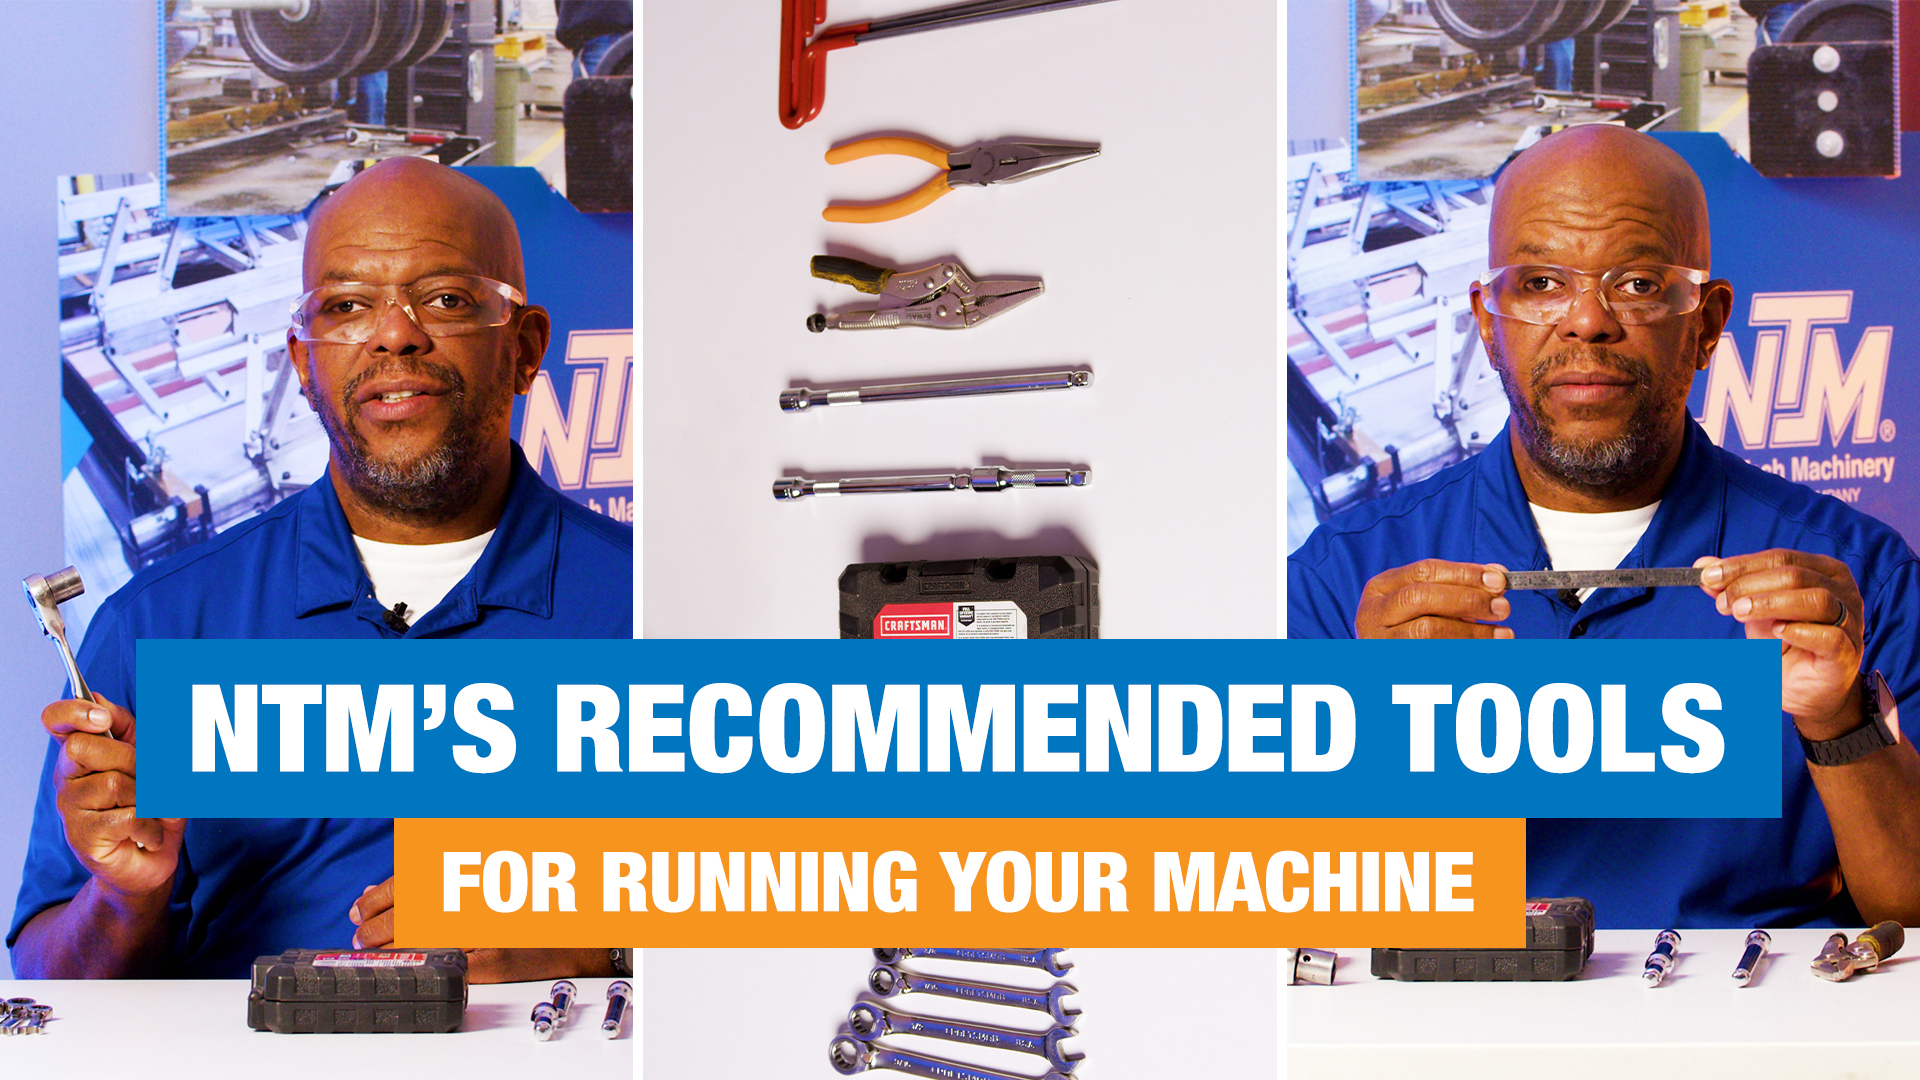
Tools Needed
Before starting, gather the following tools:
1/2” open-end box wrench
5/32” t-handle
9/16” socket with a ratchet
Tape measure
Safety First
Install the Lockout-Tagout System: This is crucial for safety.
Remove Safety Covers: Ensure you have a clear working area.
Remove Tooling: For demonstration purposes, we’ve removed the tooling.
Steps to Align the Gold Bars
Position Verification:
Verify you’re in the B position by loosening and tightening the four bolts.
This can also be done in the A position; refer to the drawing for guidance.
Initial Measurement:
Ensure the string is set at the same height on both ends, typically starting at 3 ¾”.
Measure from the gold bar to the strings at both ends of the gold bars to confirm the current position. For example, one end might be at 26 13/16” while the other is nearly 27”. This difference of 3/16” indicates the need for adjustment.
Adjustment Process:
With help, crank the tooling to a baseline number (e.g., 26”).
Use the ratchet and T-handle to adjust. Start by loosening the relevant bolts and making small adjustments. For example, if the rail is off by 3/16 inch, turn the adjustment tube a quarter turn, measure, and repeat as needed.
Fine-Tuning:
Work methodically along the rail, checking at each acme nut or alignment tube.
Ensure each section is parallel to the string and at the correct measurement (e.g., 26” for the L-2 mount rail).
Setting the L-1 Rail:
The L-1 rail should be set slightly further from the string (e.g., 26 ½” in the B position) to accommodate the panel profile formation.
Measure, adjust, and secure the rail using the bottom bolts for clamping.
Final Check
After aligning the left side, double-check the right side:
Section two is fixed and rarely needs adjustment.
Rail number one, despite having two positions (inboard and outboard), typically stays aligned.
Tighten the clamp.
Note: Adjustments to rail 1 should only be performed by a trained professional
Final Check
Measure across from the end of the L1 rail to the string. Move as needed by loosening the clamp bolts underneath.
Double check the other end of the rail.
Conclusion
Aligning your gold bars is essential for maintaining the quality of your panels. By following these steps, you can ensure your machinery operates smoothly and efficiently. For a detailed guide on safely operating your machine, click here.
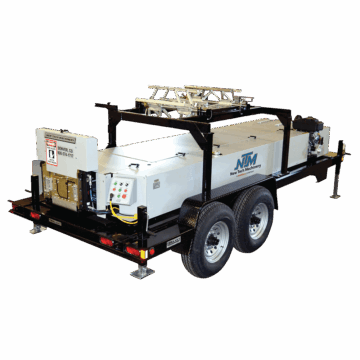
For information about NTM rollformers and accessories, contact us.