Flagship
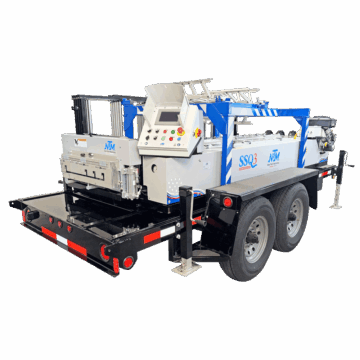
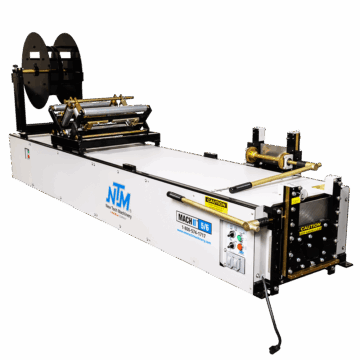
Roof & Wall Panel Machines
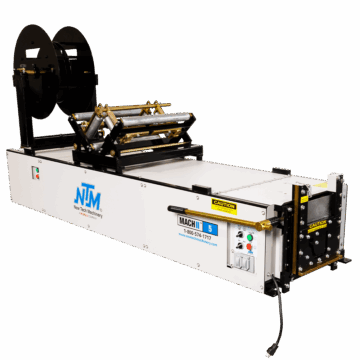
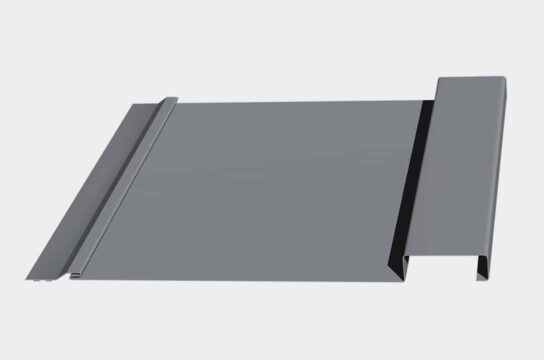
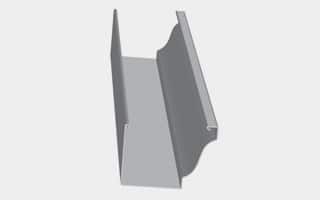
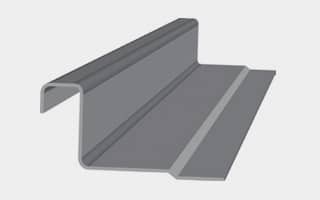
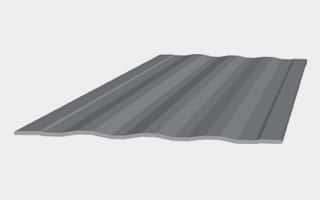
Changing coil widths on a New Tech Machinery SSH™ Multipro Roof Panel machine may seem complicated, but our seasoned Outside Service Manager, Nate Roston, can walk you through the straightforward process in just a few easy steps. By following Nate’s guidance, operators can quickly learn to change coil widths on their SSH™ Multipro Roof Panel Machine and get back out on the job faster.
Follow along with this article: https://newtechmachinery.com/learning-center/how-to-change-coil-widths-for-an-ntm-ssh-multipro/
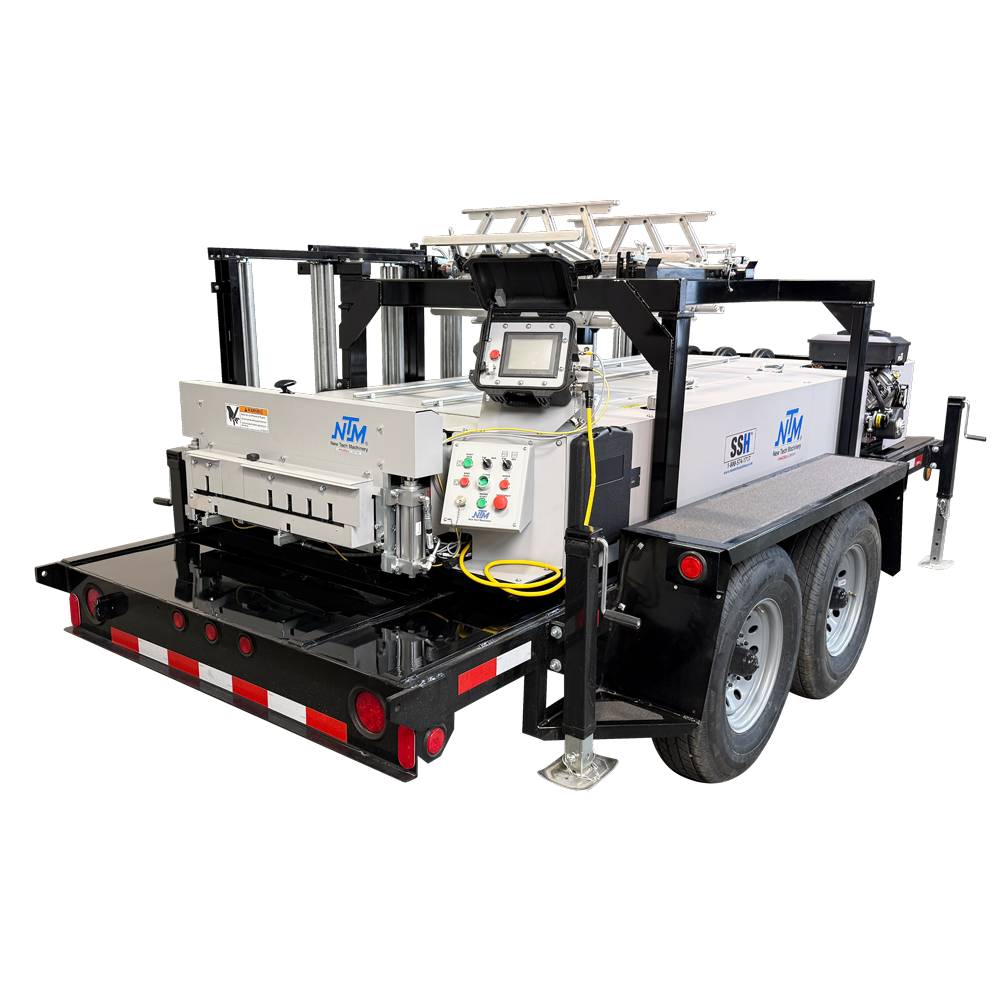
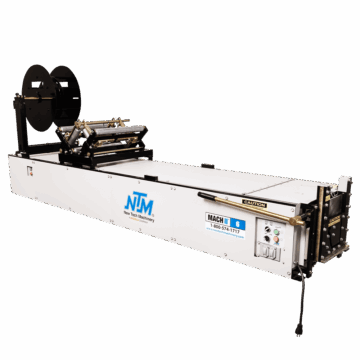
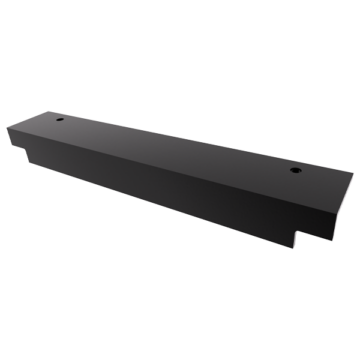
SSH Roof Panel Machine with PLC Controller Manual
Nice and smooth there. And then now we’ll get started on rail L1.
Hi, Nate Roston with New Tech Machinery here and in today’s video we’re gonna go over the width change for the SSH roof panel machine.
Notice that all of our machine covers are securely in place, mounted onto the machine. Make sure that those covers are always in place whenever the machine is in use. You’ll also notice that we have a warning label for the shear especially, you can cause serious damage if you reach through the shear, so never work through the shear, just on one side or the other. Keep your hands or any part of your body away from the shear as much as possible.
We’ll also remove the main control cable to prevent any functionality, and also the E-stop, we wanna make sure it’s pushed in cause that will disable the machine, but we wanna make sure there’s no possibility of functions coming through. Also, we wanna make sure that your machine is unplugged and secure and the proper lockout tagout for your area.
Okay, now that we’ve secured the machine and everything is safe, we’ll remove the covers.
Now that we’ve got our machine safely powered off, all you’re gonna need to do this is a 1/4″ Allen wrench, a 3/16″ Allen wrench, and a 1/2″ socket for the shear dyes.
So I’ve cut a one foot piece of coil, just need to move my entry guide out. So keep in mind if you’ve watched our tooling change video, you should be familiar with this. So in this case, the right side of of the machine doesn’t change. The only part we’re gonna change is the left side. So we start with setting the left entry guide shoe to the coil width, and wanna make sure that it moves back smoothly. So I’m gonna give that a little bit more room, nice and smooth there. And then now we’ll get started on rail L1.
So now that we’ve got our our left entry guide shoe set to the width of our coil, we need to go to the B dimension which is found in our manual on page 62. And if you don’t have the manual there’s a link to the manual right below.
Okay, so we’ll loosen to D bolts. Then we want to slide the L1 rail so that the scale reads one and three quarter. So then the next step would be to lock down the D bolts on the first rod of carriage number one. Then we need to measure. Then you just want to get that measurement and then make sure it matches on one end. And the key is just to make sure that they’re parallel to the string. Then we’ll will tighten up the D bolt on the exit end of carriage number one.
And keep in mind that there’s a step in the spacer block, one for the SS 100, and one for the SS150 and the SS450 and the SS450 SL. So we’ll make sure that this is lined up parallel at this point. We’ll lock down the D bolt and then we’ll measure to the string and then we’ll measure the second part which is actually gonna be rail L3.
Now that we’ve got rail L1 parallel to the string, then we have the beginning of rail L2 flush with the spacer block. Then we take our measurement to the string and then we also wanna make sure that we’re parallel to the string on the exit end. Then we’ll tighten up the D bolt.
Now we’ll move on to the third carriage which has rail L4 for the SS 100. So now this rail does not have a spacer so that means that the two angle pieces need to be flush with one another. Then we’ll tighten up the D bolt. Now we need to make sure that the end of rail L4 is parallel to the string. And of course we’ll tighten up the D bolt.
Now that we’re working with the shear, wanna make sure that you’re being as safe as possible. So always work in front of the shear or behind the shear but never through the shear, even if it’s powered off. So we’re just gonna move this over and line it up with the tooling on the inside corner of the panel. Just finger tight so that we can adjust it and we get the panel close. And we’re always reaching on one side around the shear, never through the shear.
Now that we’ve got our shear dies set up, we’ll run a test piece through just to make sure our panel looks good. To run a test piece through the machine, we’ll have to be very careful because we have to remove the lock from the plug so we can plug the machine in and run a piece through. Just have to be careful just to keep our hands and everything out of the way as we run through the machine. We’ll also have to plug in our main power cord to our push button box. Emergency stop off. Power on.
So we cut about a six foot piece but always make sure when you feed the coil in that you cut a little bit off the corners to dog-ear that just so that it goes through smoothly. And then we’re feeding the coil. We don’t wanna run it through super fast, we just want to go through each section at a time just making sure that everything is aligned properly.
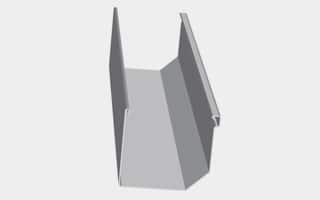
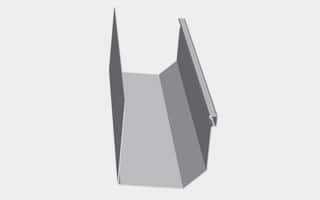
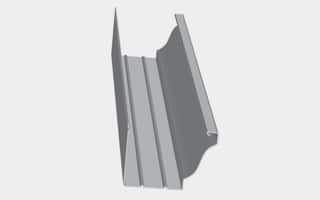
So once we get the panel through we wanna make sure that our legs show the 1/32″ clearance just like in the manual. And then we’ll tighten these down and then do a test cut. Our right side was already set so we’ve just simply moved our left guide over to match the width of the coil.
So what we’re looking for is to make sure that we have the angled part of this blade or any of these blades coming through the vertical part of this part of the panel. And if we needed to move this upper blade, the backside where we loosen up these seven bolts, and this’ll allow us to slide left or right to match that so that we get a good clean cut.
So let’s try it and see how it cuts. Once we tested our cut and everything and the cut is clean, now we’ll take a look at our panel, make sure the legs are straight and that the dimensions are correct.
And that’s how we do a width change on the SSH Roof Panel machine. Thanks for watching and we’ll see you in the next video.
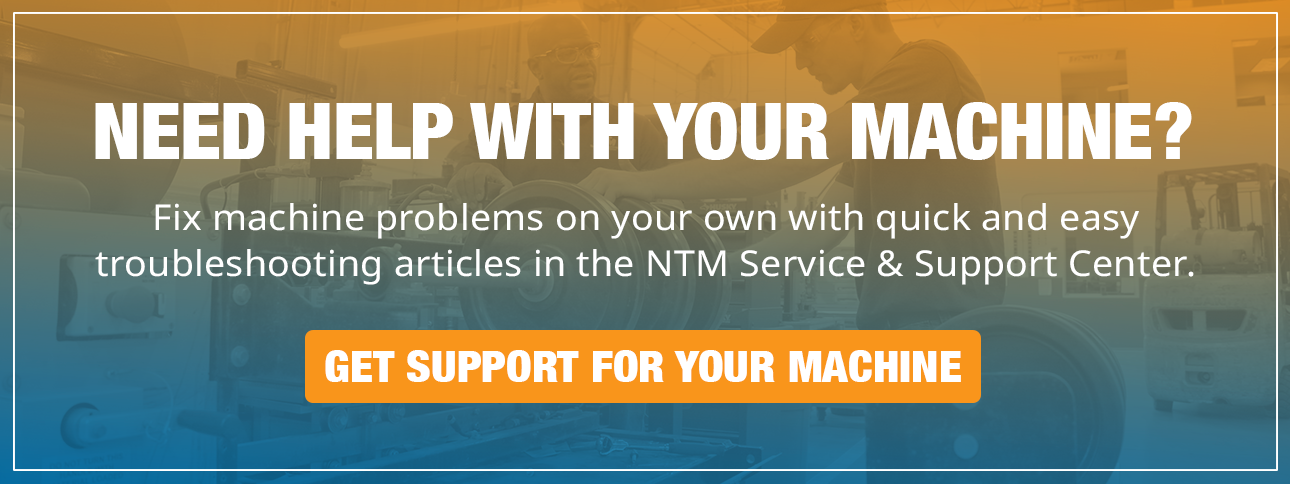

Machine tutorials, maintenance tips, industry insights.