How To Change A Profile – New Tech Machinery’s SSR™ MultiPro Jr.
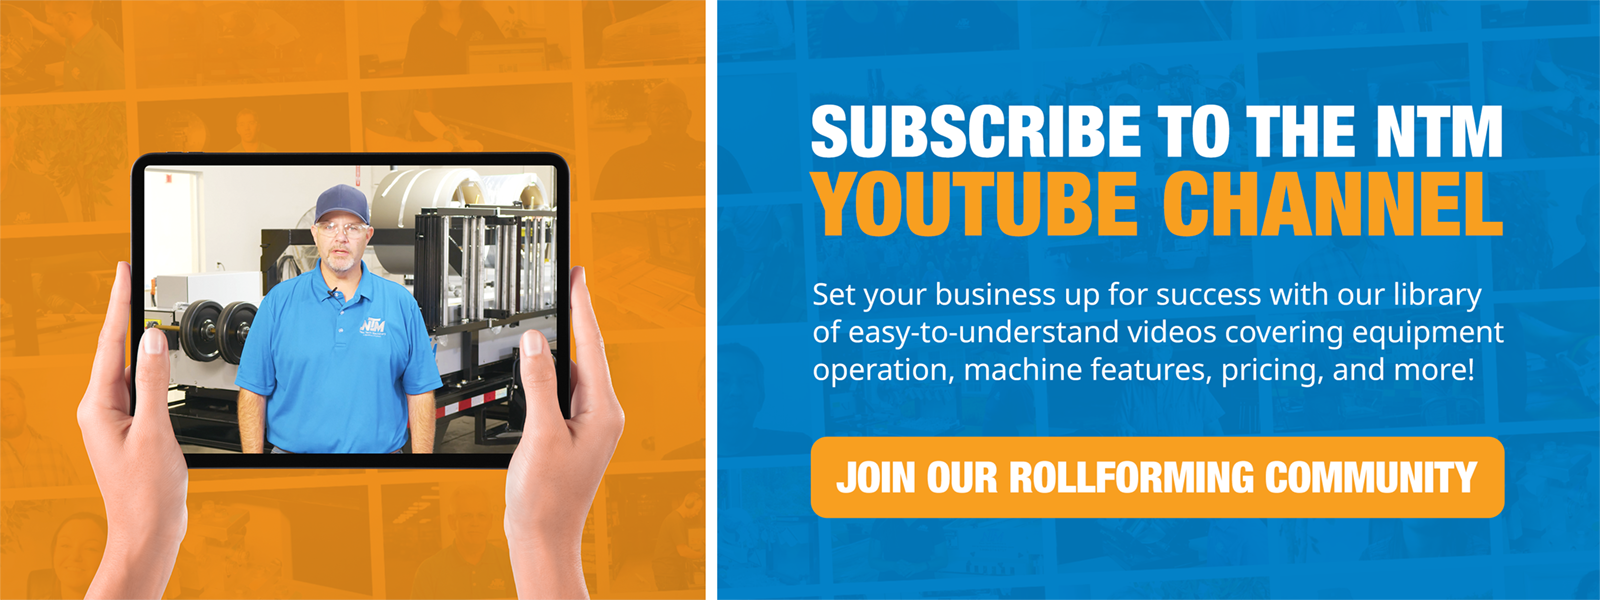
Tim LaGuardia, Assistant Service Manager at New Tech Machinery, demonstrates how to do a profile changeover on an SSR™ MultiPro Jr. This instructional video focuses on safety first, showing how to properly lock out and tag out the machine before starting. Tim guides you through the entire process, including the tools you’ll need, removing the old profile, and installing a new one, like the FF100 profile. He provides detailed steps for aligning the machine with the new profile, setting shear dies, and making test cuts to ensure everything is aligned correctly. This video is a must-watch for anyone looking to safely and effectively change profiles on their SSR Machine. For more helpful tips and videos, visit newtechmachinery.com or our YouTube channel, and reach out to their service department for any further questions.
Learn more about the SSH™ MultiPro vs. SSR™ MultiPro Jr. here: https://youtu.be/6hppCW983dQ?feature=shared
SSR™ MultiPro Jr. manual: https://newtechmachinery.com/learning-center/manual/ssr-roof-panel-machine-manual/
Learn more about our products here: https://newtechmachinery.com/learning-center/
In this video:
0:00 – Teaser
0:15 – Intro
0:26 – Safety first
1:02 – Tools you will need
1:20 – Remove the old profile 2:55 – Remove shear dies
3:51 – Set the C dimension on the right side entry guide
4:36 – Set the left side guide to your material
5:19 – Install the right-side tooling of your new profile
6:57 – Set the A dimension on your right-side tooling
7:44 – Align R1
8:24 – Align R2
9:06 – Align R3
9:34 – Install left-side tooling
10:16 – Set the B dimension on your left-side tooling and align L1
10:58 – Align L2
11:21 – Align L3
11:38 – Load machine with material
12:45 – Install shear dies
15:21 – Test cut and check blade alignment
16:50 – Run material out
17:24 – Learn more in the links below
17:35 – Outro

