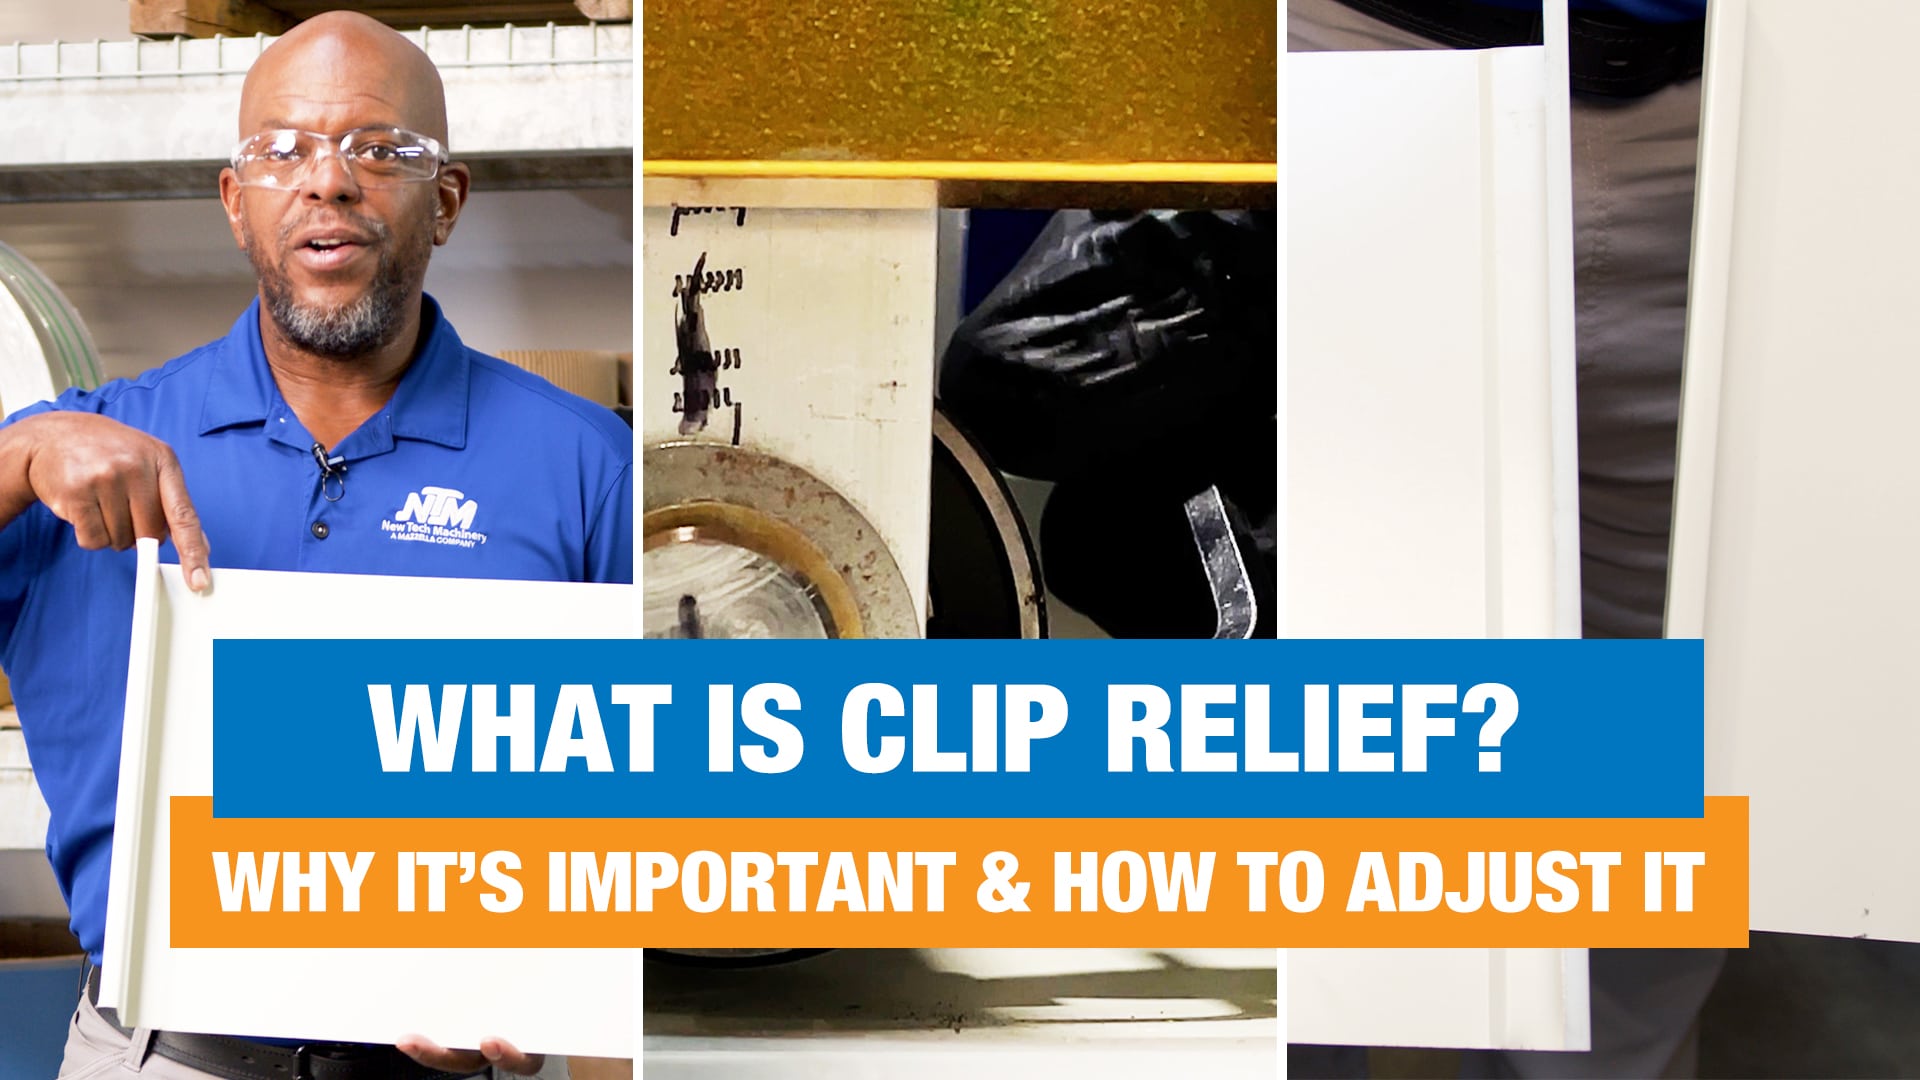
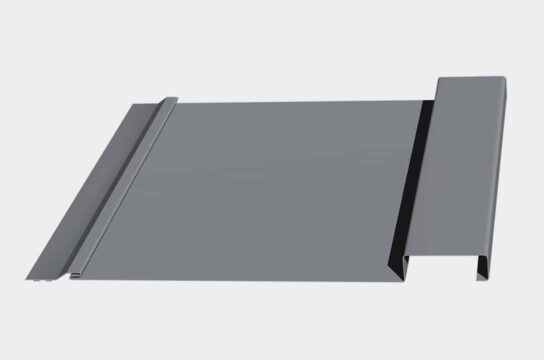
How to Switch from 12-1F to 8-1F on NTM’s WAV Panel Machine
Need help getting through the steps of switching from 12-F to 8-1F panels on NTM's WAV Wall Panel Machine? This tutorial will walk you through it step by step.
/Rick Zand/3 min read
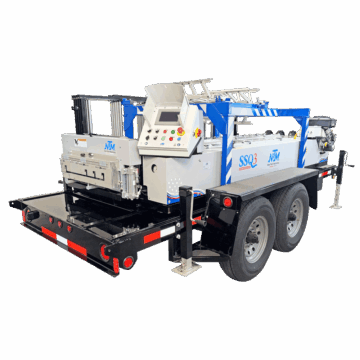
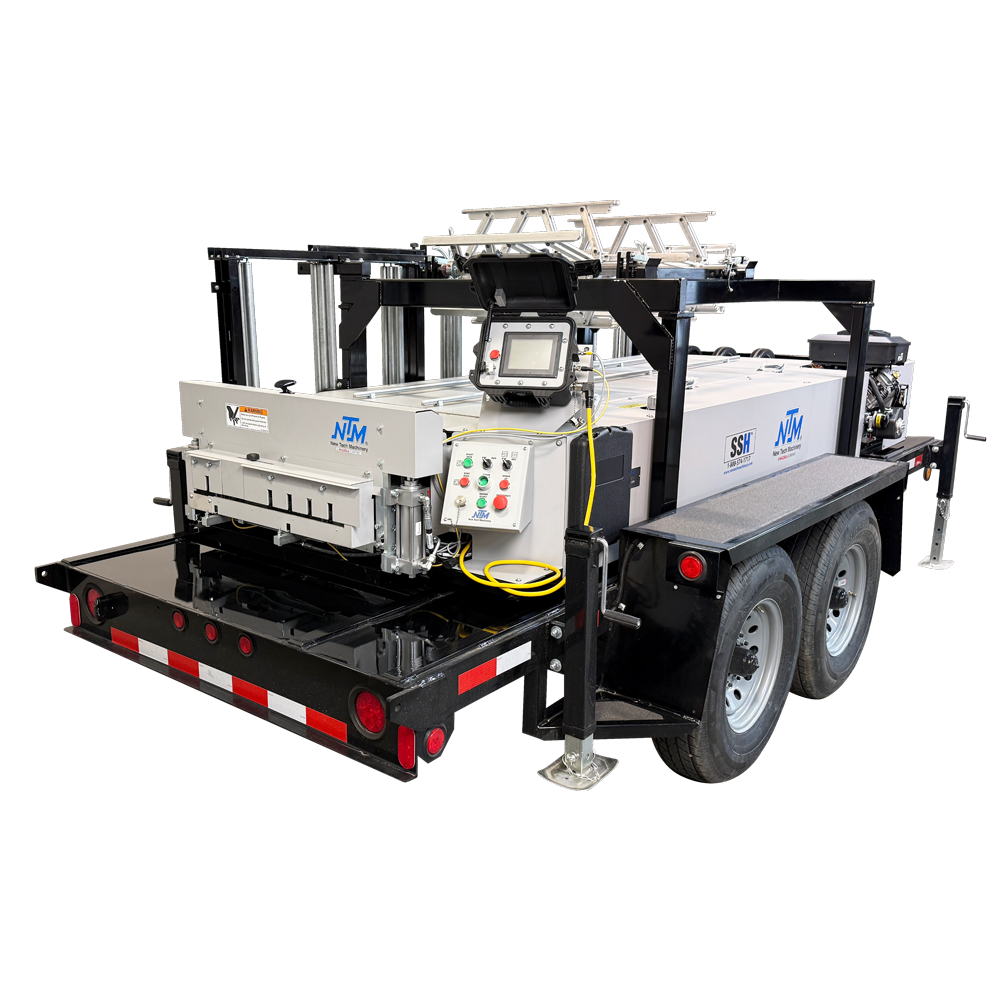
In this guide, we’ll walk you through the steps to switch your New Tech WAV Wall Panel Machine from the 12-1F panel configuration to the 8-1F panel. Safety and precision are key, so follow these instructions closely.
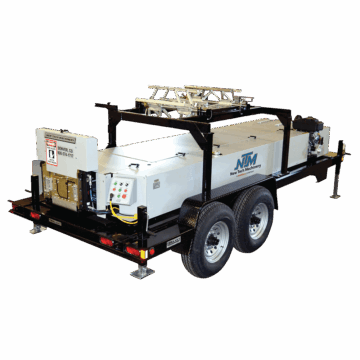
At New Tech Machinery (NTM), we’ve helped metal contractors by providing the highest quality portable rollforming machines and machine support. We feel it’s important to educate our machine owners on how to operate their machines to their full potential. This includes showing you how to perform profile changeovers on your machine.
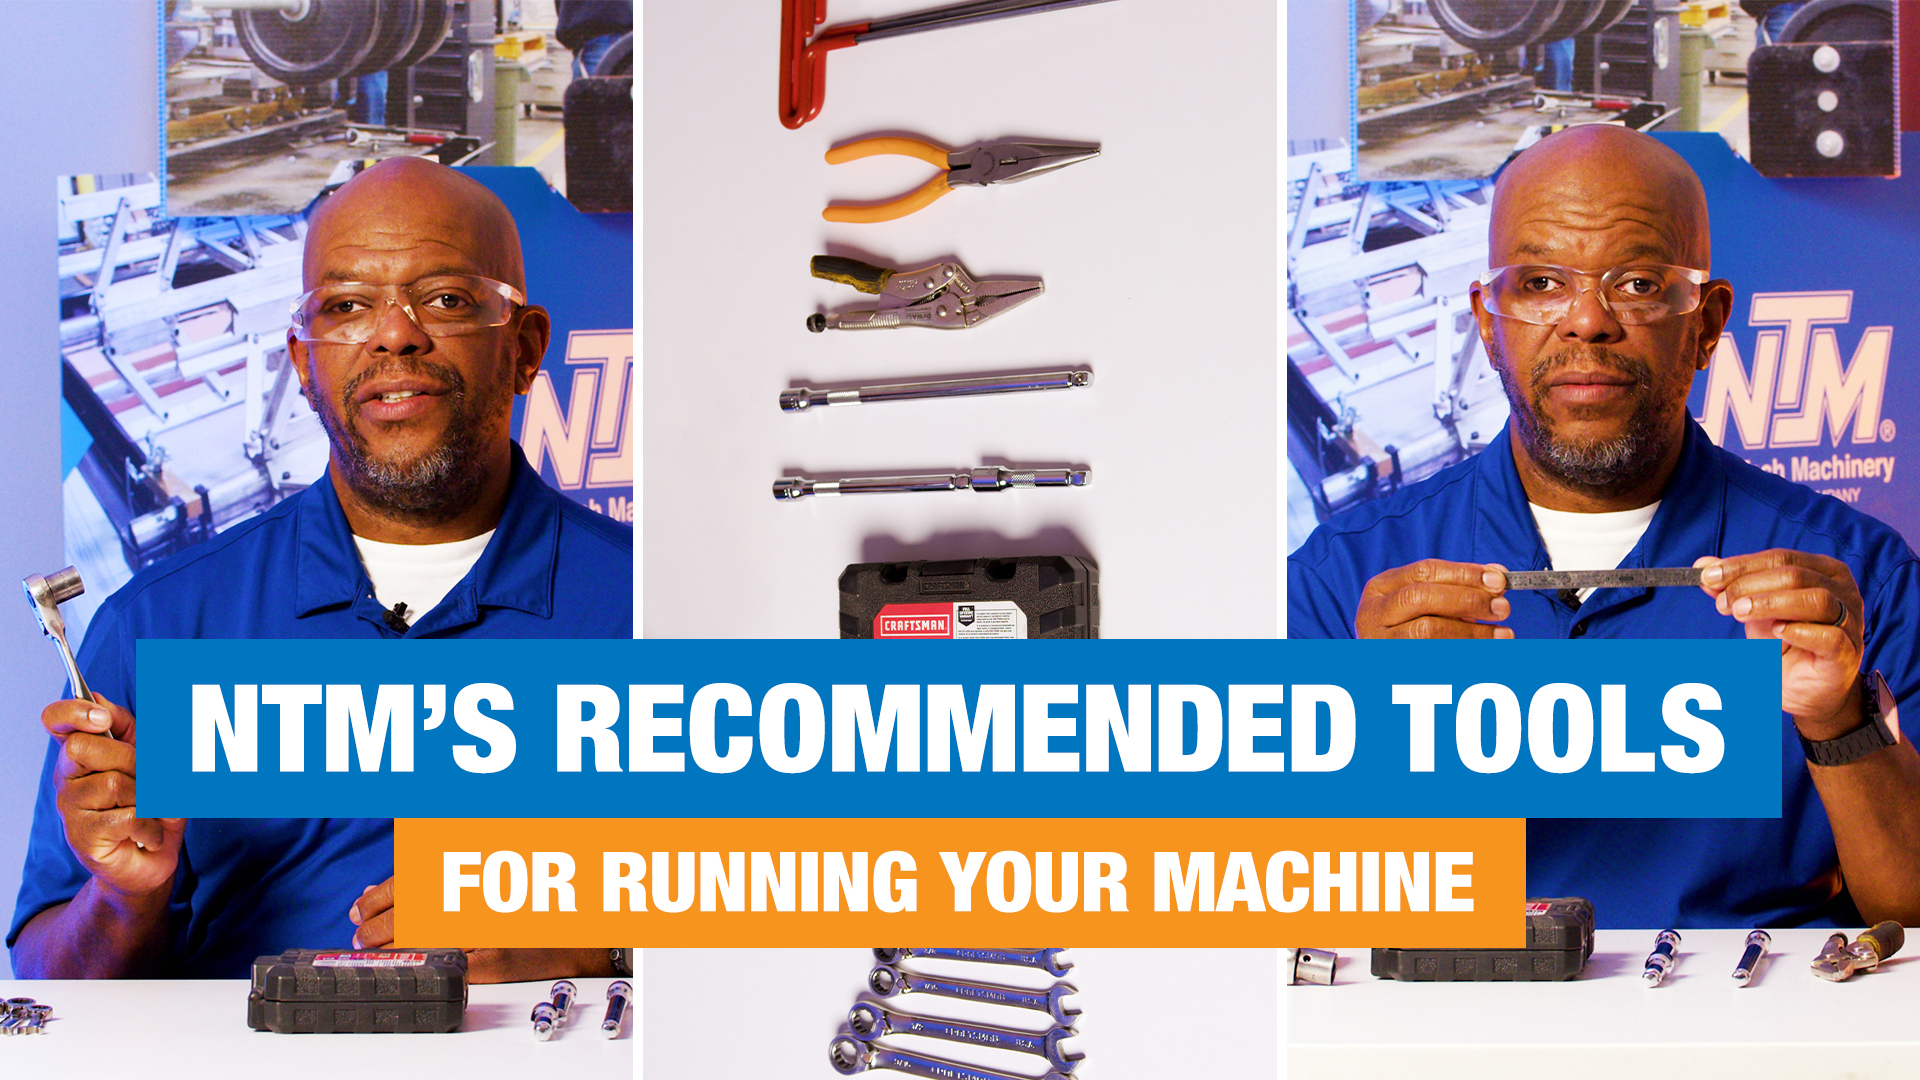
Materials Needed
7/32 Allen Wrench
½” Socket (for the shear)
3/8 Wrench (for the shear guard)
Tape Measure
Safety Protocol
Ensure all safety covers, especially the shear cover, are in place.
Never reach through the shear; work only in front or behind it.
Follow local jurisdiction laws for machine safety.
Use the lock-out tag-out system to disable the machine before starting.
Step-by-Step Process
1. Power Down and Lock-Out
Safely power off the machine. Apply the lock-out tag-out system to ensure it cannot be accidentally turned on.
2. Remove Safety Covers
Carefully remove the safety covers from the machine.
3. Adjust the Right Entry Guide Shoe
Move the right entry guide shoe to seven inches from its original position for the 16-4 panel.
4. Disengage Forming Rollers
Ensure that all forming rollers (1 through 14) are disengaged.
5. Width Adjustment
Adjust the width from the current setting of 18 and 3/16ths inches to 14 3/16” by turning the adjustment handle counterclockwise.
6. Check Auxiliary Guide Rods
Ensure that both the long and short auxiliary guide rods are correctly in place.
7. Set the Left Entry Guide Shoe
Use a 13 5/16” width coil about 7’ long to set the left entry guide shoe, ensuring smooth entry of the material to set the left-entry guide shoe.
8. Prepare for Test Panel
Remove the lock-out tag-out mechanism to enable the machine to run a test panel. Remain cautious around the moving parts, particularly the shear.
9. Run a Sample Piece
Feed a piece of material through the machine up to the shear, proceeding slowly and carefully.
10. Reapply Safety Lock
Before adjusting the shear, reinstall the lock-out tag-out for safety.
11. Adjust the Shear
Remove the shear guard and cover. Work safely on the front or back of the shear but never reach through it.
Remove the outside shear die for the 12-1F and one of the center blades.
Move the number one blade over one spot.
Install the 8-1F shear die, aligning it with the inside edge of the panel at the shear.
12. Align Shear Dies
Align the die so that the hem of the male leg matches the line on the machine, moving the cam follower and upper blade as needed.
13. Test Cut
Remove the lock-out tag-out and run a panel through for a test cut. Check for accuracy and quality.
Always prioritize safety when operating machinery. Follow all guidelines and use the lock-out tag-out system consistently to prevent accidents.
For more helpful information, feel free to check out our Learning Center and YouTube channel. For information about our machines, or to order accessories, including profiles, contact us to speak to an account manager.