Flagship
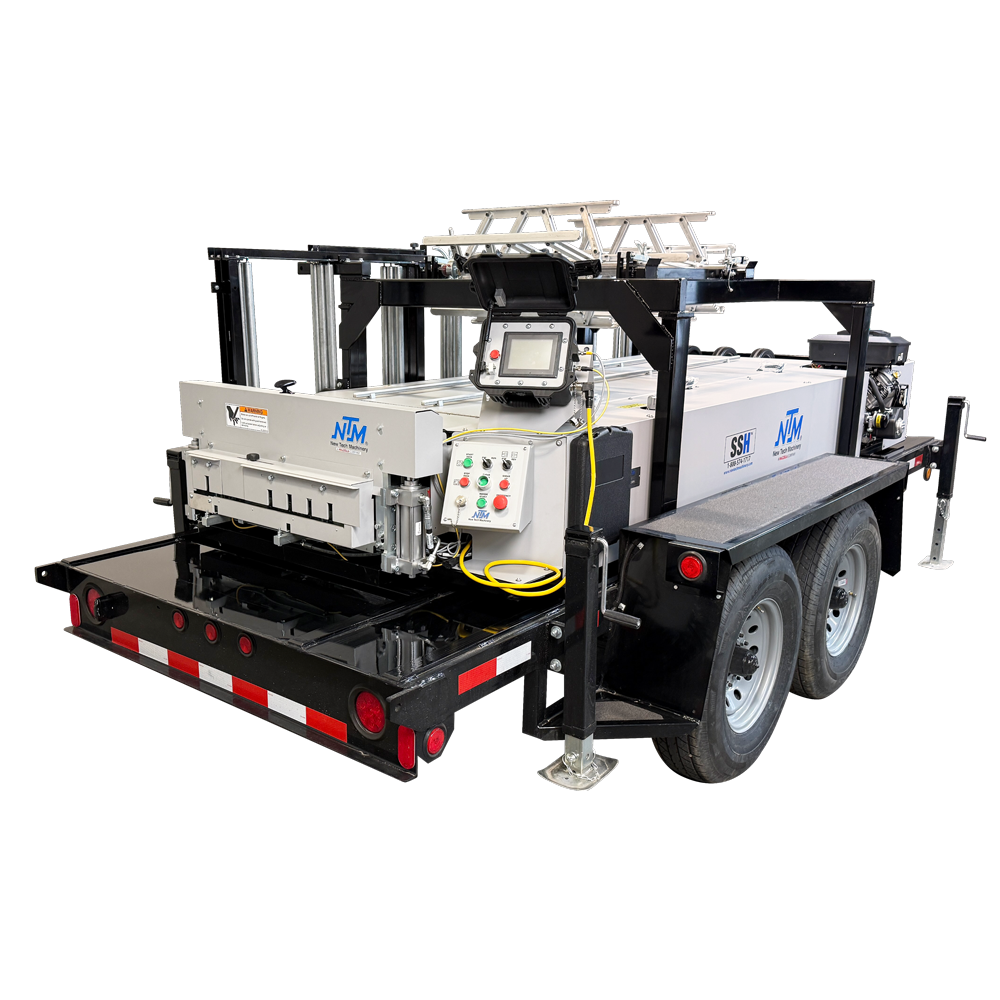
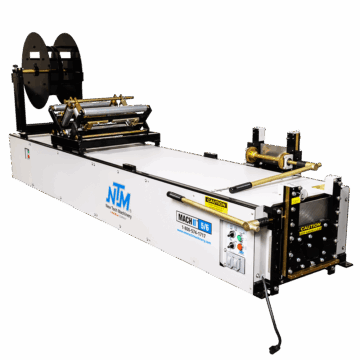
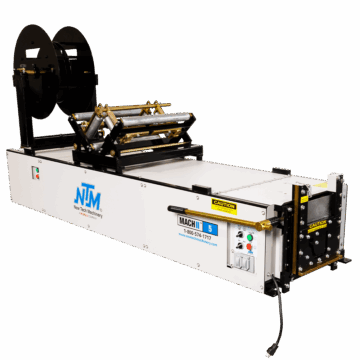
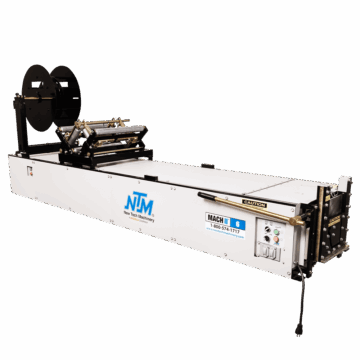
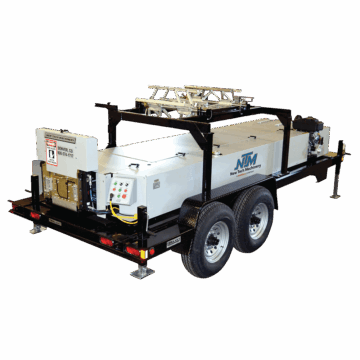
Roof & Wall Panel Machines
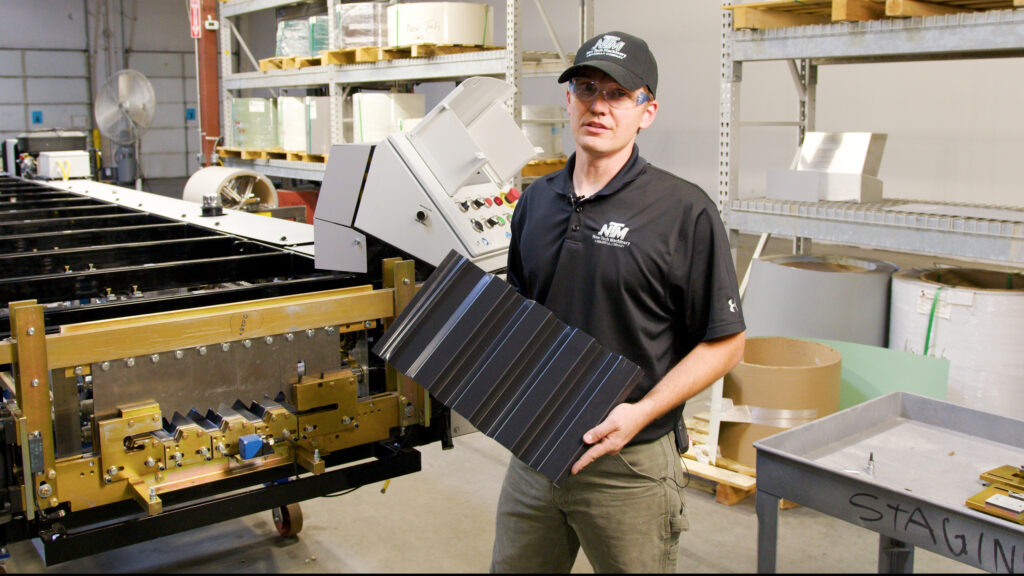
Learn how to switch your NTM WAV™ Wall Panel Machine from the 8-1F to the 12-1F profile. Follow each step, prioritizing safety with lockout tagout procedures and careful operation.
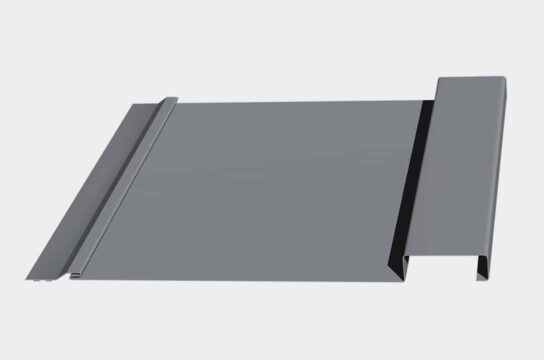
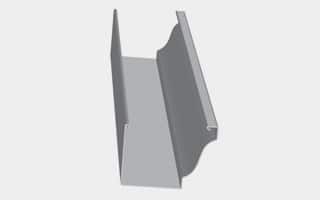
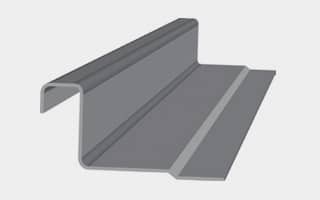
At New Tech Machinery (NTM), we’ve helped metal contractors by providing the highest quality portable rollforming machines and machine support. We feel it’s important to educate our machine owners on how to operate their machines to their full potential. This includes showing you how to make adjustments to the machine and tooling when necessary. In this article, we will show you how to convert the WAV Wall Panel Machine 12-1F profile to the WAV 16-4F profile.
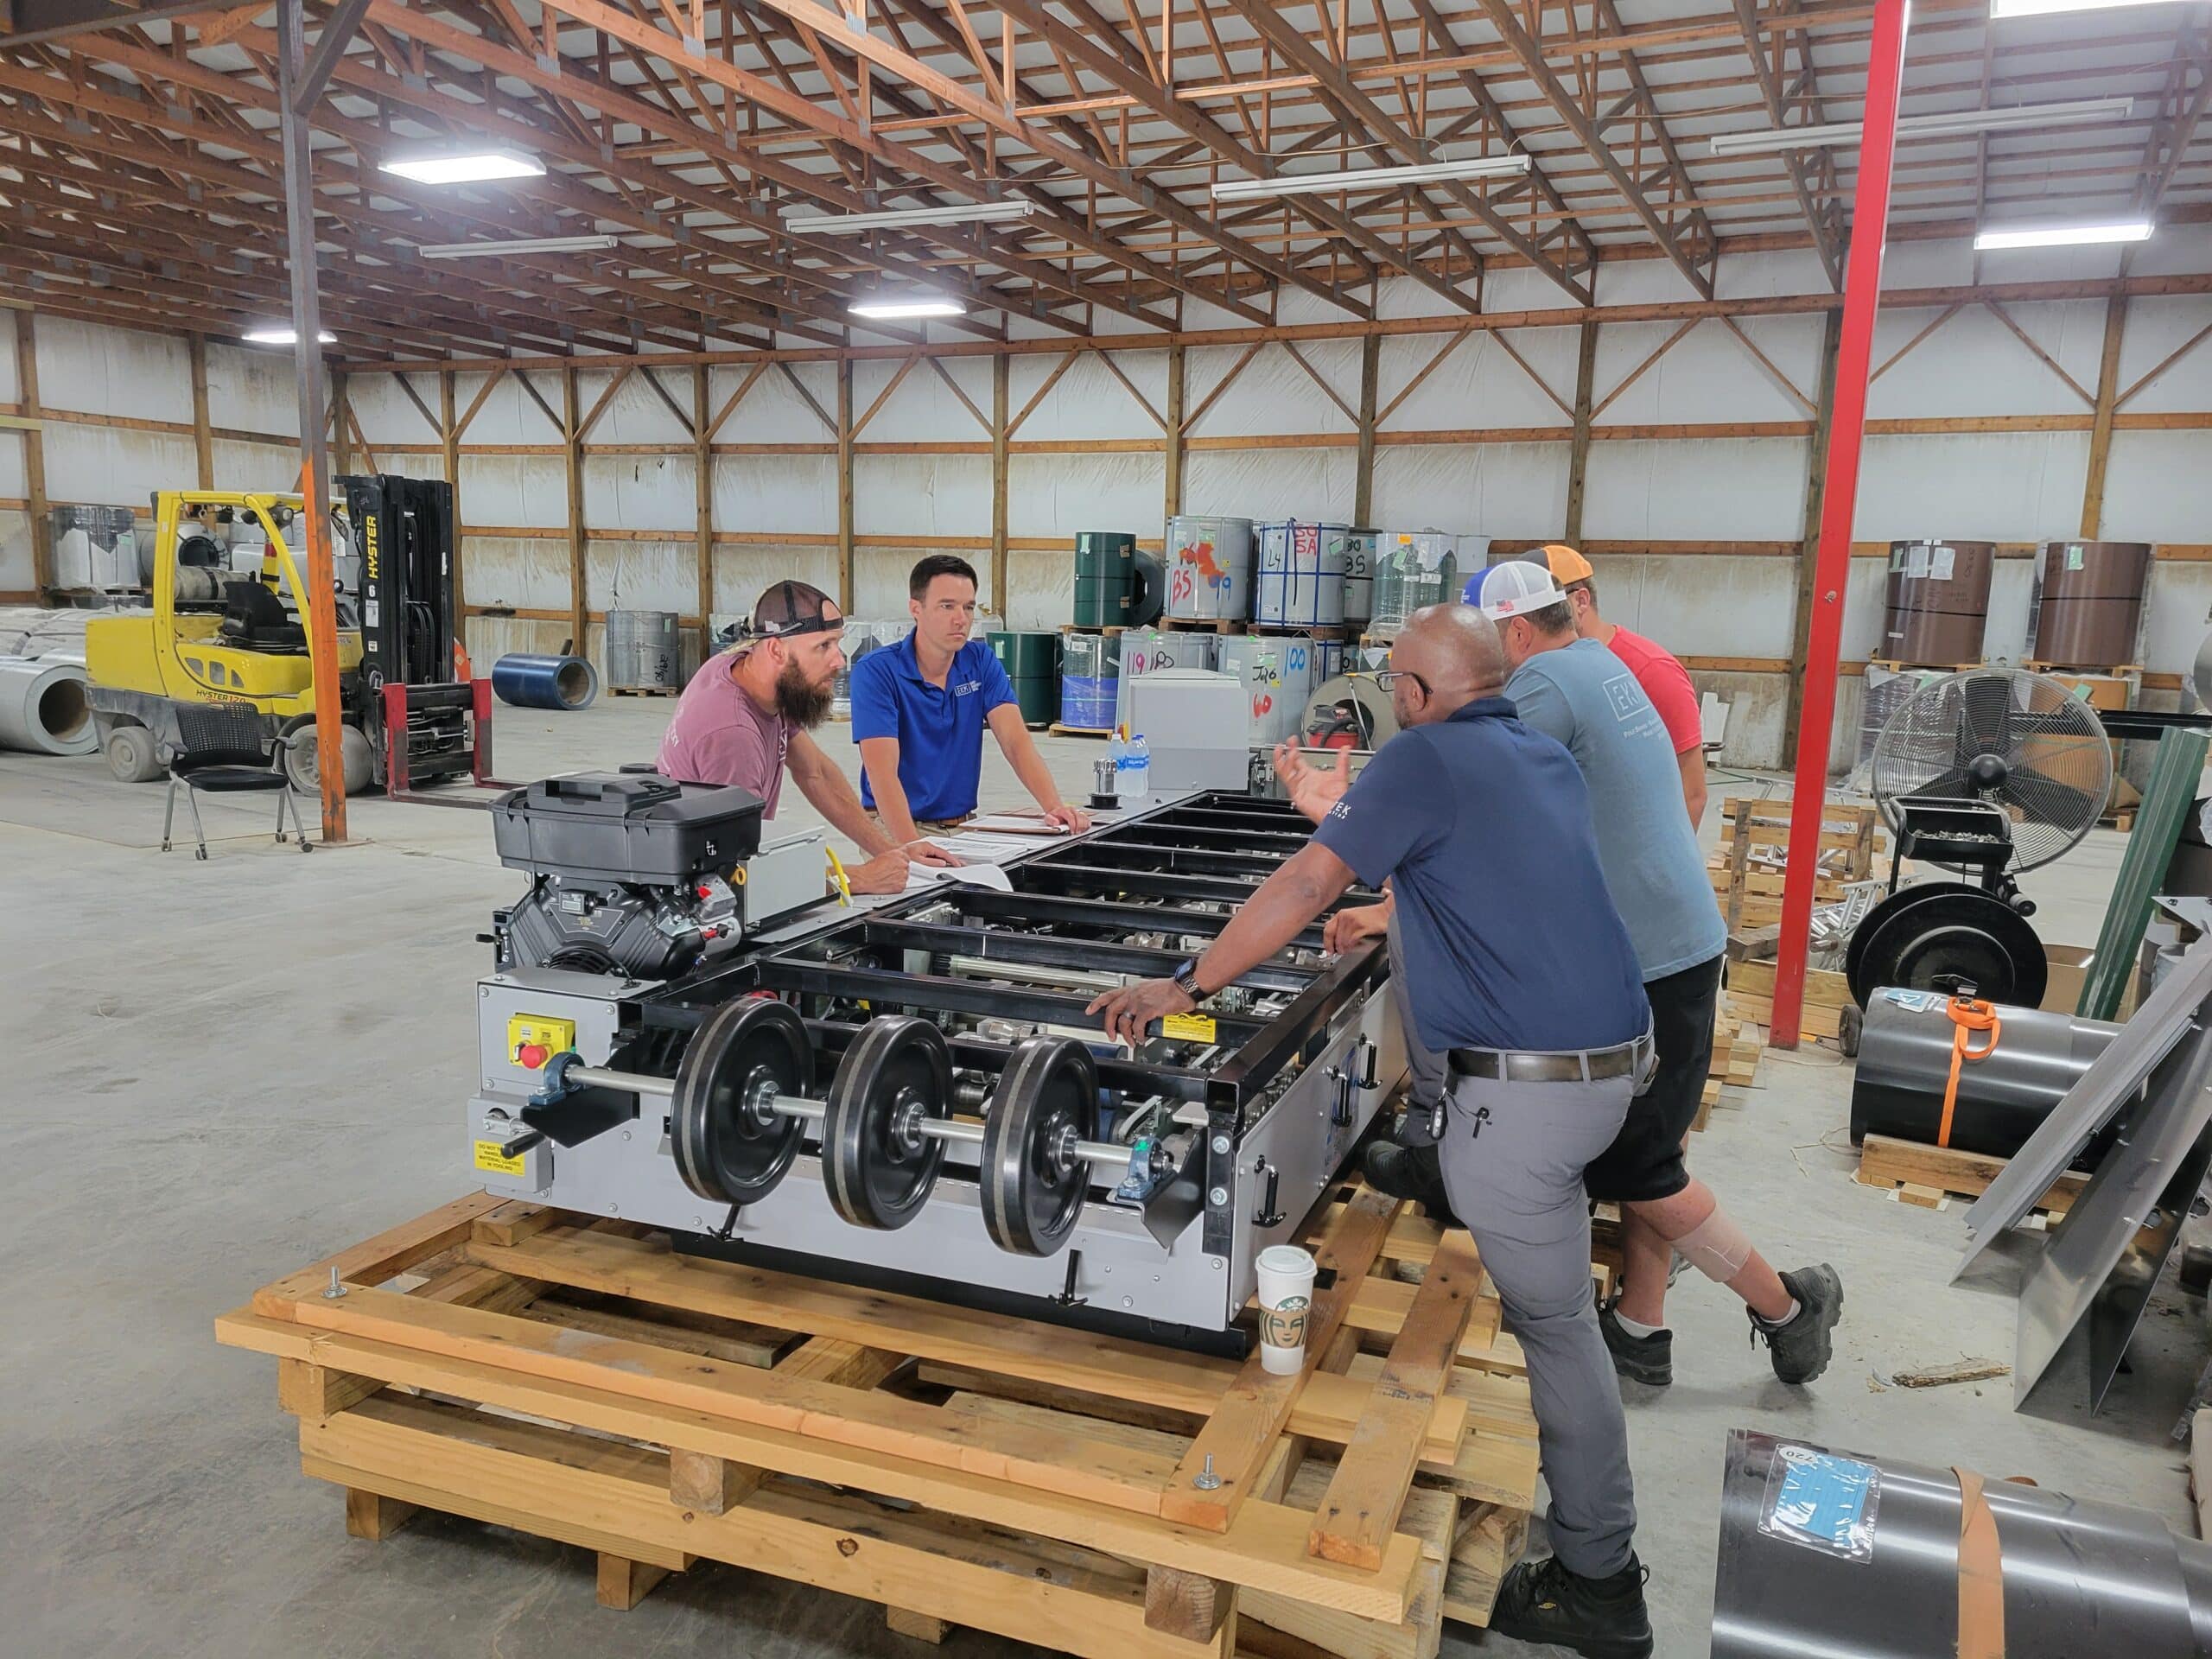
Converting your New Tech Machinery WAV machine from the 12-1F profile to the 16-4F profile requires a series of steps to ensure safety and accuracy. This process guide, based on Bryan Yancy’s demonstration from New Tech Machinery, provides a detailed walkthrough.
Refer to Chapter 10 of the WAV user’s manual. If you don’t have a copy of the manual, you can download it here.


3. Set Material in Entry Guides: Use a 24” wide piece of material in the entry guides. Adjust the left guide while applying gentle pressure and tighten it. Move the panel front to back, ensuring no lateral movement.
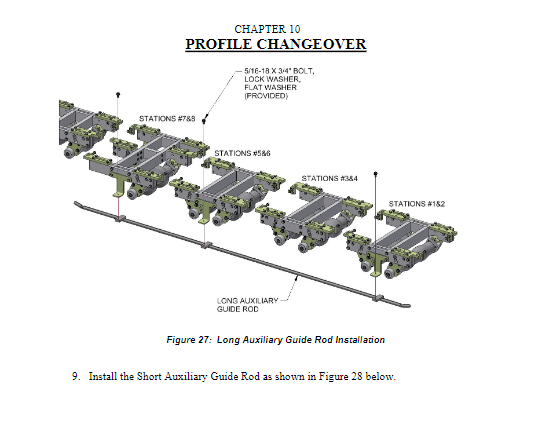
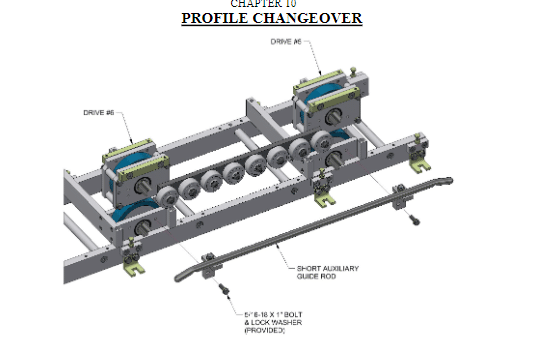
4. Remove Auxiliary Guide Rods: Remove one short guide rod in the center and a longer guide rod from the entry, each held by fasteners (three for the long rod, two for the short).
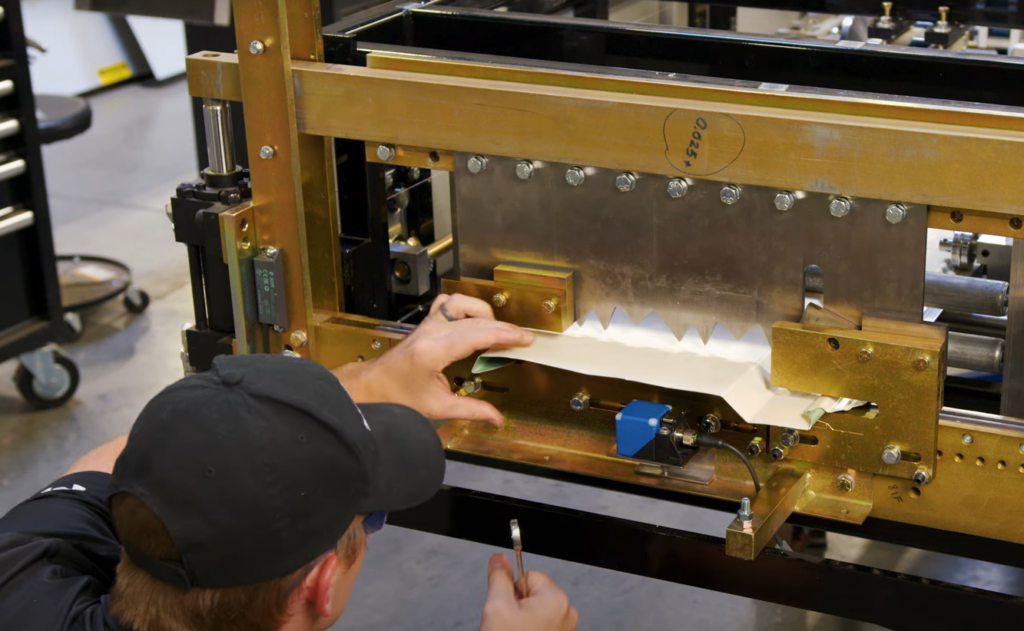
5. Lower Center Forming Rollers: Start at the entry end of the machine and work your way to the exit. Use a ratchet and a 7/32 driver to loosen 28 fasteners (14 on each side of the tooling) and push the rollers down to align with the down notch position. Tighten the fasteners on both sides without over-tightening.
6. Widen Exit Gold Bars: Adjust the exit gold bars from their current setting of 18 3/16” to 22 3/16”, adding 4”.
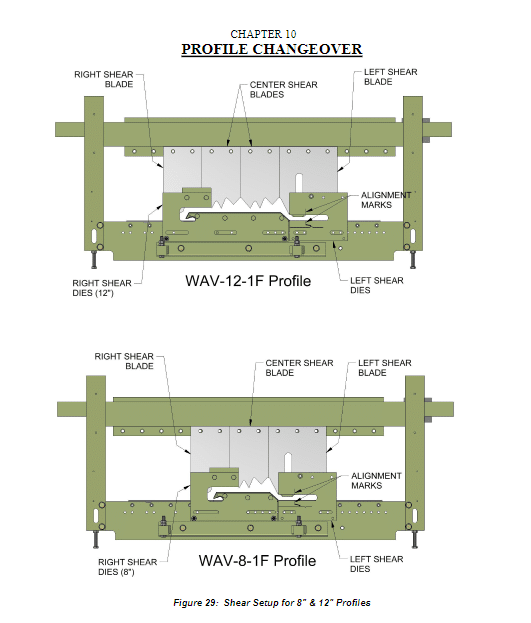
7. Remove Shear Dies: Remove the WAV 12-1F entry and exit shear dies, maintaining hand safety by keeping them either in front of or behind the shear. Never reach your hand through the shear.
8. Install and Adjust Shear Blades: Reposition blades by moving them out and install center shear blades. Ensure all blade bolts are properly tightened.
9. Feed Material for Shear Die Alignment: Power up the machine, feed a material strip through it. Listen and look for any abnormalities to make sure the material makes it through the machine safely. Power down and lock out for die installation.
10. Install Shear Profile Dies: Install the profile dies, starting on the machine right and moving left. Initially, tighten them by hand, adjusting each one individually before final tightening.
11. Jog Material and Set Shear Dies: Power up the machine, jog material over the dies to check clearances, making sure the material doesn’t run into the shear dies. Then power down and lock out for final positioning of the shear dies.
12. Finalize Shear Die Position: Adjust the exit side shear dies in relation to the panel, and then power up the machine to back the material in for aligning entry dies with exit dies.
13. Complete Shear Cycle Test: Remove the lock, power up the machine, and carefully jog the material through to perform a test cycle of the shear. Power off afterward.
1. Reinstall Covers and Guards: Reattach all covers and guards on the machine before using it.
2. Contact for Support: For additional information or support, contact New Tech Machinery sales or visit their website.
Following these steps will ensure a safe and accurate conversion of your New Tech Machinery WAV machine from the WAV 12-1F profile to the WAV 16-4F profile. Always prioritize safety and refer to the official guides for additional assistance.


Monthly digest. Unsubscribe anytime.