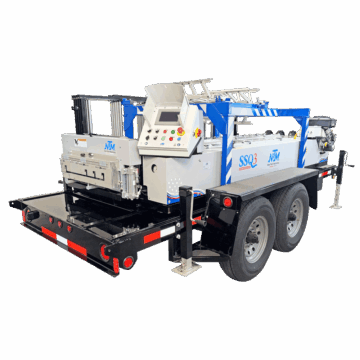
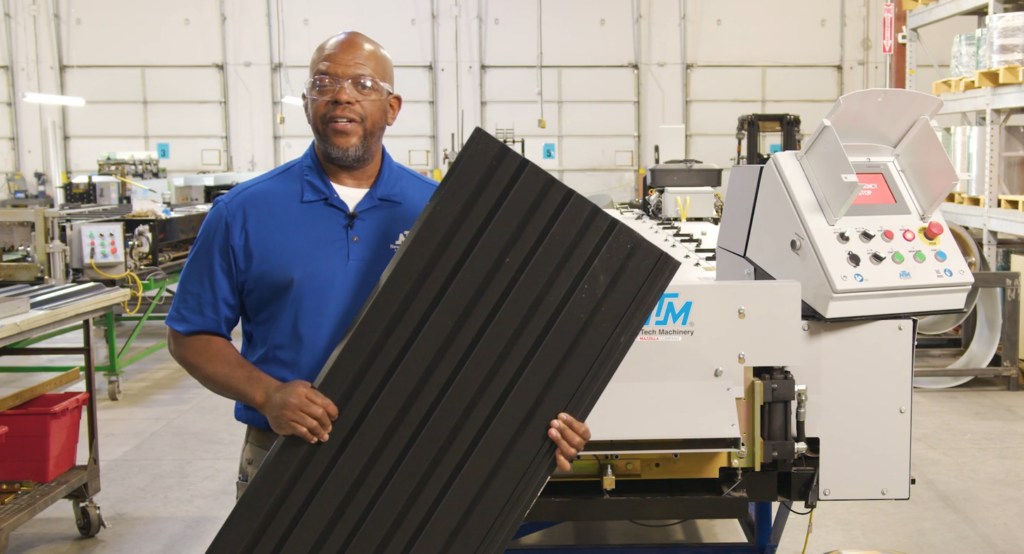
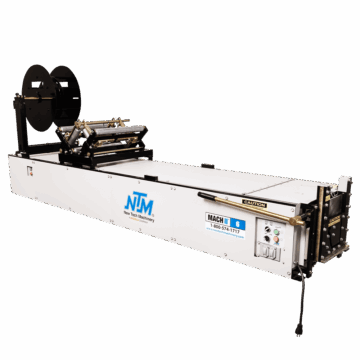
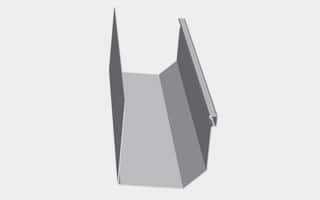
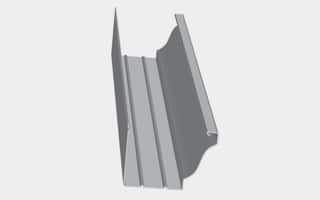
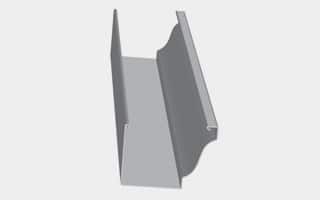
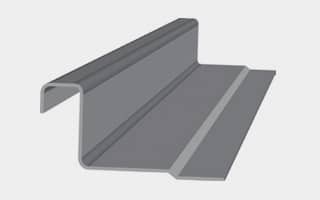
8 Common Panel Adjustments for NTM’s WAV™ Wall Panel Machine
Owner of an NTM WAV Wall Panel Machine? Learn 8 common adjustments you can make to keep your panels running straight in this article and companion video.
/Rick Zand/4 min read
Experiencing issues with your WAV panel machine? This guide will walk you through the necessary adjustments to ensure optimal performance, covering hem adjustments, correcting uphill or downhill issues, and more.
At New Tech Machinery (NTM), we’re concerned with the everyday challenges our customers face. As a customer-focused business, we want to provide useful content that our machine operators can use to get them up and running as quickly as possible should they run across any issues, whether you’re performing profile changeovers, making width adjustements, correcting for panel camber, or just normal machine maintenance and operations.
In this article, you’ll Learn:
How to open and close the hem.
Adjust the first bend after hem on the left side.
Adjust the bend above the hem.
Adjust the angle next to the hem.
Open and close the hem.
adjust the depth of the bead on the flange.
Adjust for uphill and downhill on the right side.
Adjust for uphill and downhill on the left side.
Note: The original factory settings are indicated by witness marks, typically set for 24-gauge steel.
Always follow safety procedures when working on your machine.
Safety First:
Ensure all safety covers are securely in place.
Observe all safety warnings, particularly around the shear area. When working near the shear, always work in front of or behind the shear, never through it.
Implement lockout tagout procedures before starting any adjustments.
Note: You’ll need to remove the first three covers for the adjustments.
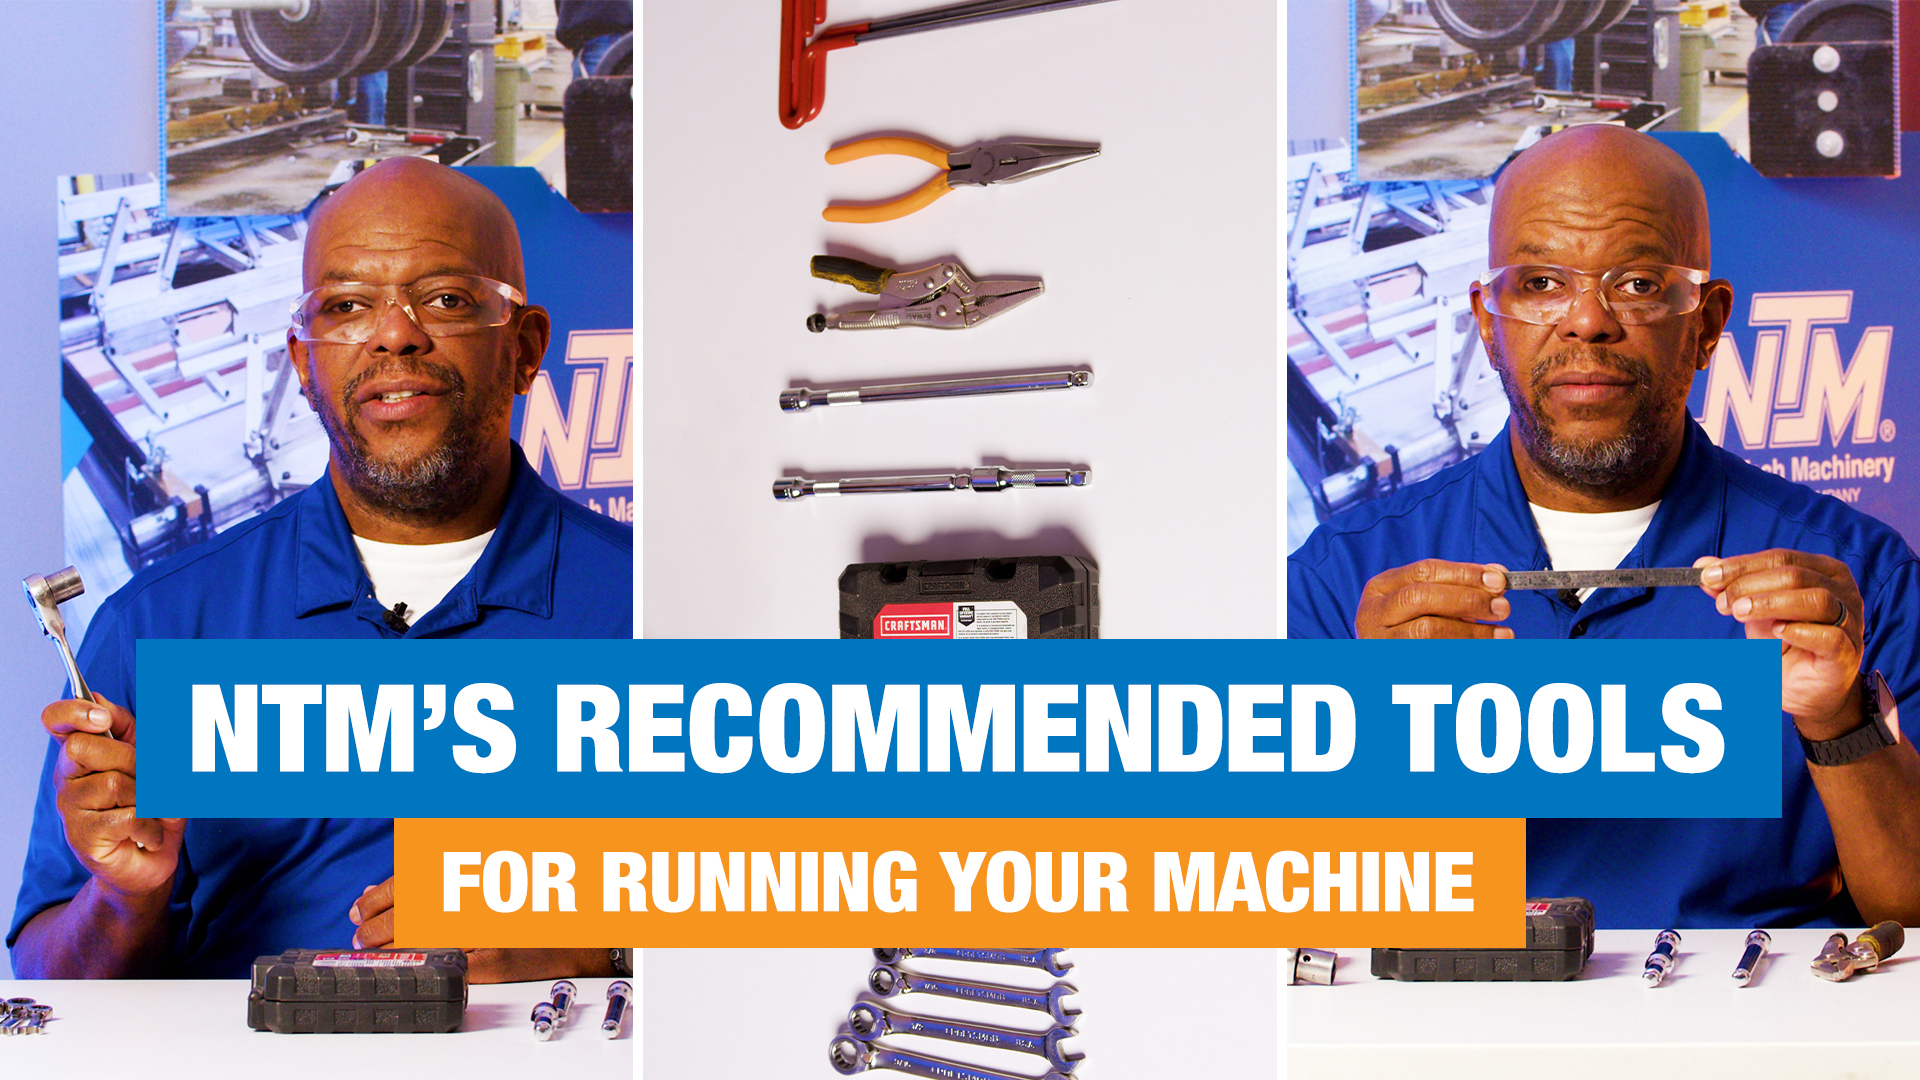
Tools Required:
Prepare the following tools for the adjustment process:
¼” Allen wrench
½” socket
9/16 box end wrench
5/32 Allen wrench
Straight edge and scribe
Sharpie marker
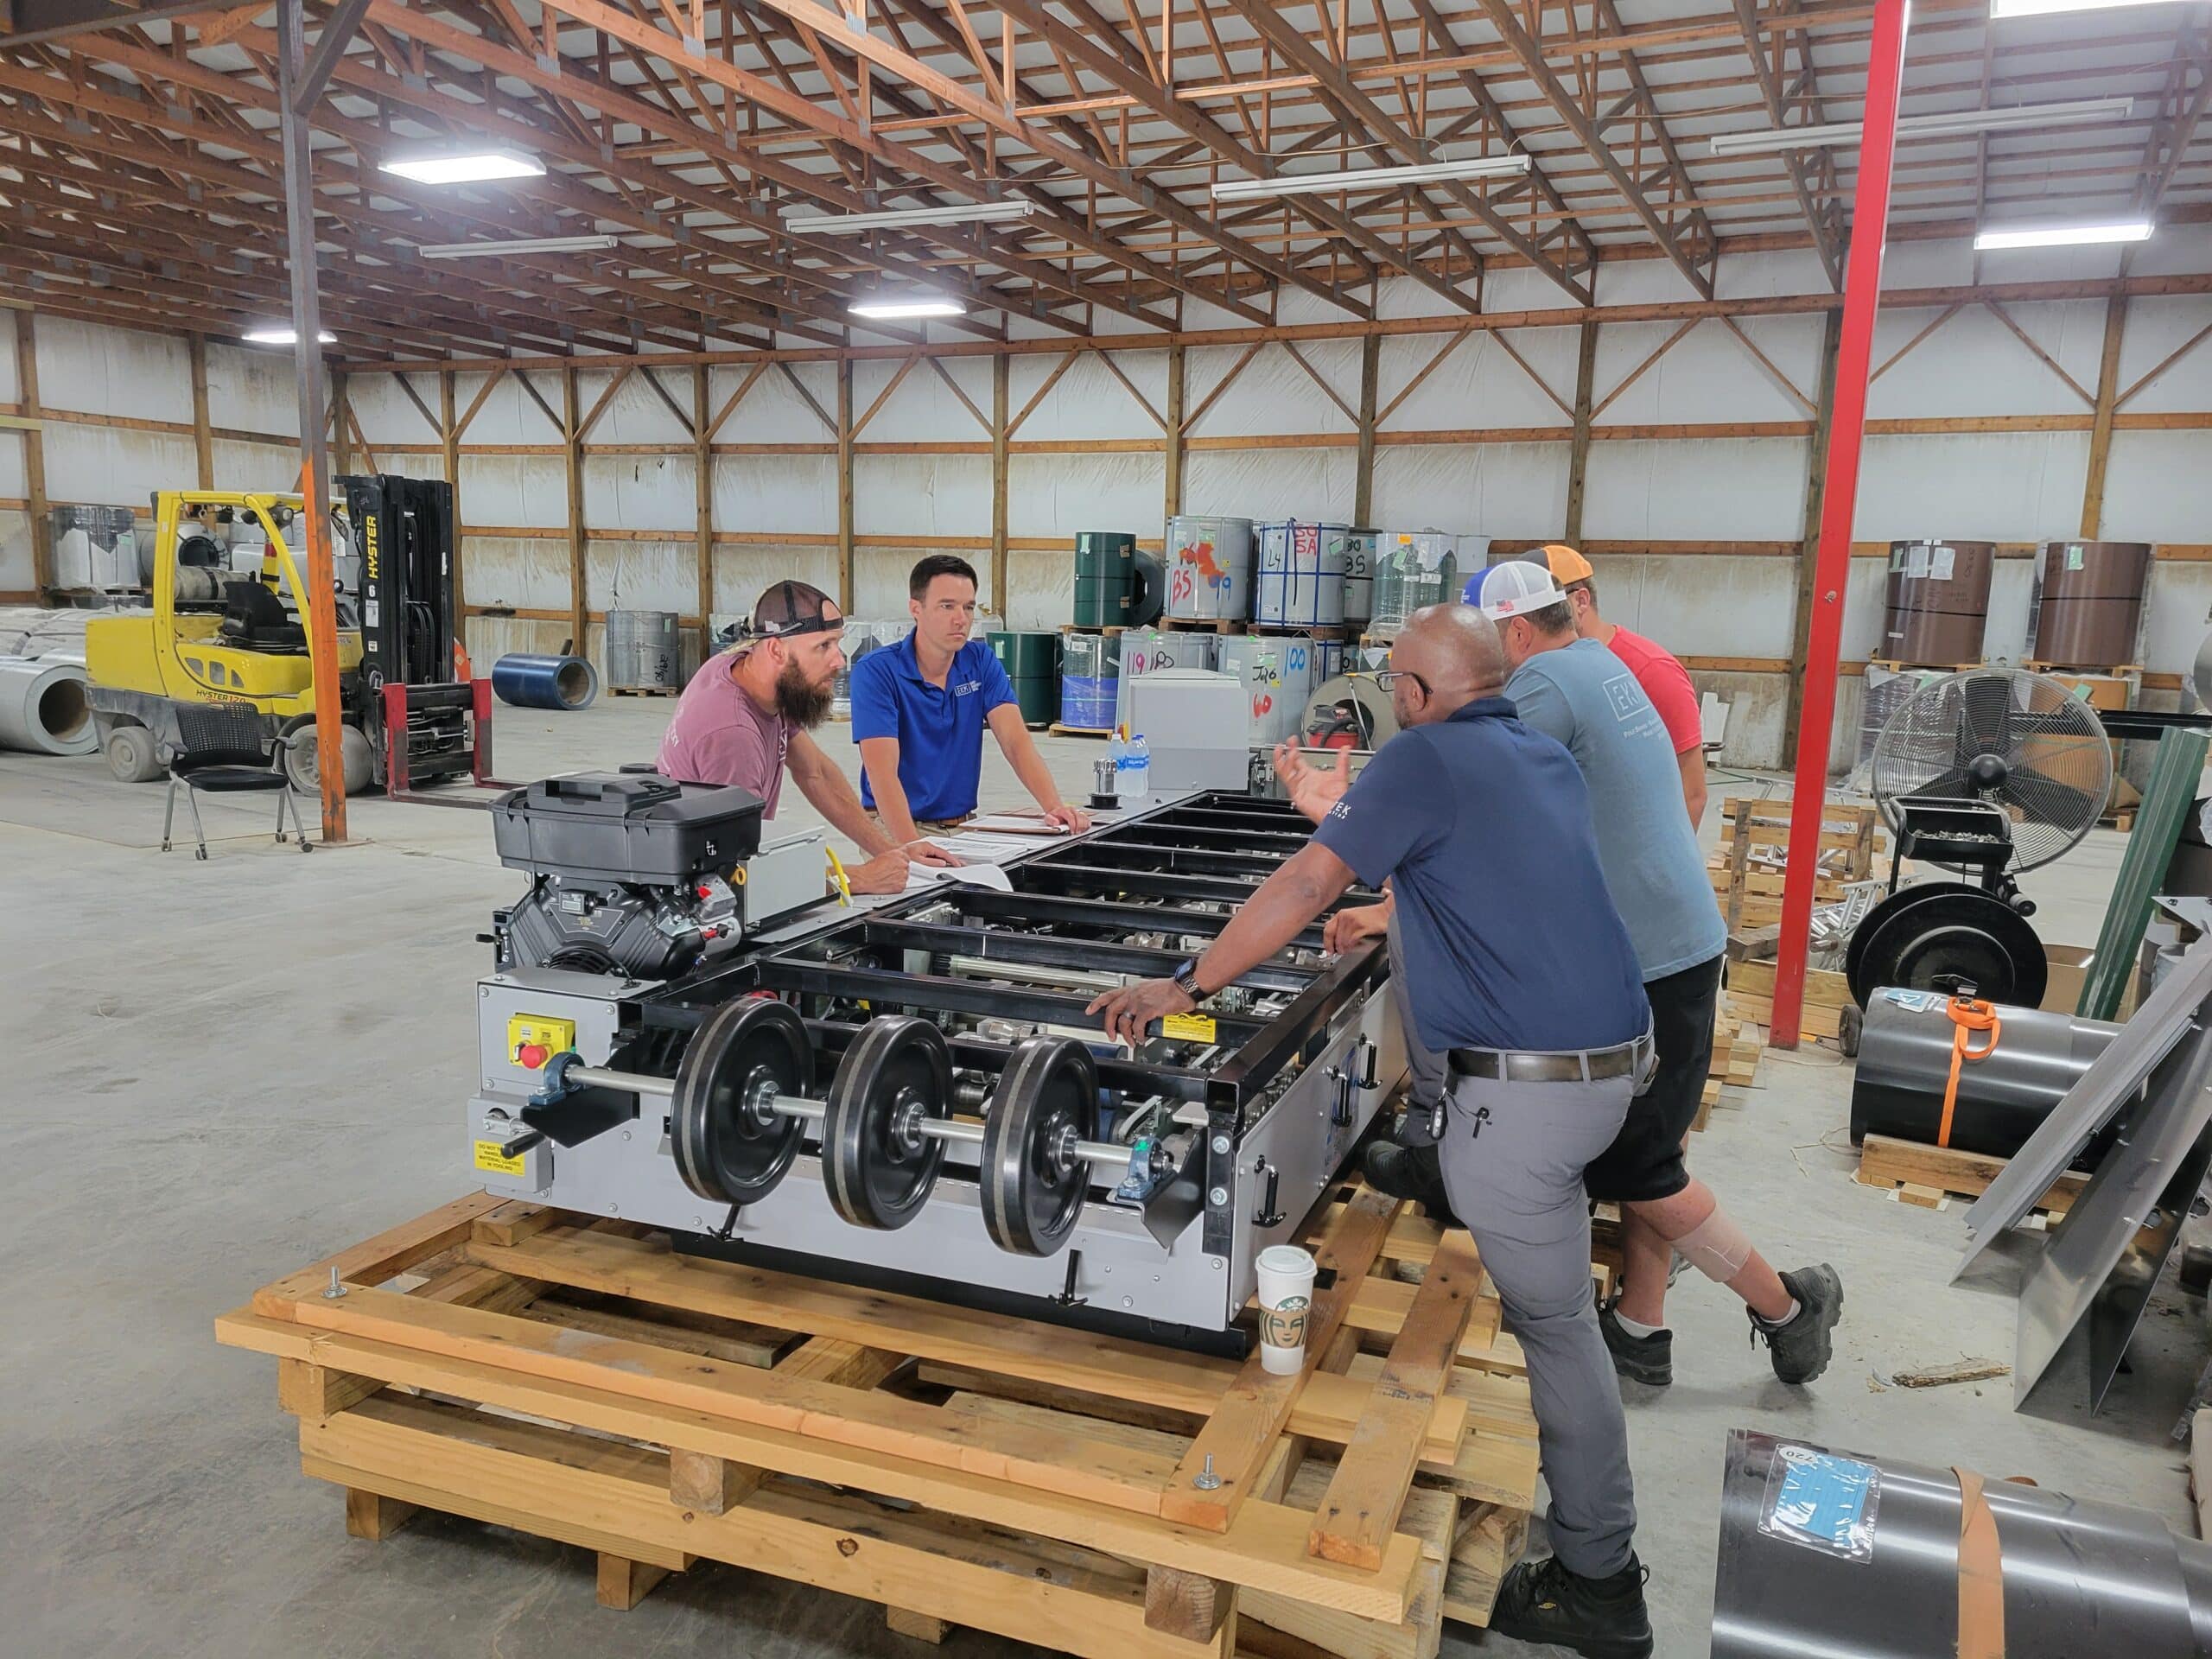
Understanding Your Machine:
Refer to your WAV panel machine manual for detailed instructions and identification of each station.
Adjustment Steps:
Initial Setup:
WAV Adjustment 1: How to Open and Close the Hem (P. 50)
Use the 5/32 Allen wrench to adjust the hem.
Loosen the set screw on R-6 station.
Use the Allen wrench to rotate the adjustment mechanism towards the entry end (clockwise) for a tighter hem and towards the exit end (counterclockwise) for a looser hem.
Witness Mark
WAV Adjustment 2: First Bend After Hem on Left-Side (P. 50)
Adjust the first bend after the hem using the specified station settings for your material type (steel or aluminum).
Determine which roller station (steel or aluminum) is attached to the L-5 station and swap out if necessary.
Loosen the set screw on the L-9 station with the ¼” and 5/32 Allen wrenches. If there’s not a witness mark on the shaft block, use the Sharpie pen to mark your starting point.
Rotate towards the exit end to tighten or increase the angle.
Rotate towards the entry end to loosen or decrease the angle.
Make sure your roller station metal is correct. Swap out if necessary.
WAV Adjustment 3: Adjusting the Bend Above the Hem (P. 50)
Loosen the set screw on the R-10 station.
Rotate towards the exit end to decrease the angle of the bend.
Rotate towards the entry end to increase the angle of the bend.
Use the quarter inch Allen wrench and the 5/32 Allen wrench to adjust the L9 station, making sure to align with your witness marks for accurate bending.
WAV Adjustment 4: Adjusting the Angle Next to the Hem (P. 51)
Loosen the set screw on the R-15 station with the 5/32 Allen wrench.
Rotate towards the entry end to loosen or increase the angle.
Rotate towards the exit end to tighten or decrease the angle.
WAV Adjustment 5: Open and Close the Hem (P. 52)
Loosen the bolt on the L-13 station using the 1/2” socket wrench.
Rotate towards the entry end to loosen or open the hem.
Rotate towards the exit end to tighten or close the hem.
WAV Adjustment 6: Adjust the Depth of the Bead on the Flange (P. 51)
Loosen the set screw on the L-14 station.
Rotate towards the entry end to loosen the bead.
Rotate towards the exit end to tighten the bead.
WAV Adjustment 7: Adjust Uphill and Downhill on the Right Side (P. 52)
Find station R-15
Rotate the bolt counterclockwise to adjust downhill.
Rotate the bolt clockwise to adjust uphill.
Note: Use scribe lines for reference and adjust by quarter turns as needed.
WAV Adjustment 8: Adjust Uphill and Downhill on the Left Side (P. 52 )
Find station L-13.
Rotate the bolt counterclockwise to adjust downhill.
Rotate the bolt clockwise to adjust uphill.
Final WAV Panel Adjustment Checks:
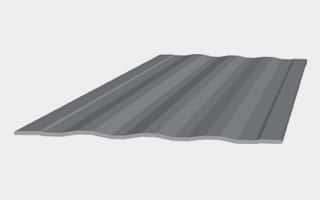
After adjustments, double-check that all elements are properly aligned and that the panel appearance meets your standards.
Running the Machine:
Once all adjustments are made, and safety checks are complete, you can start running your WAV panel machine again.
Additional Considerations:
Always refer to the manufacturer’s guidelines and consult with a professional if you are uncertain about any steps in the process.
Regular maintenance and checks can prevent many common issues with machine performance.
Remember, taking the time to properly adjust your WAV panel machine can significantly impact the quality of your panels and the efficiency of your operations.